How to Install a Flagstone Patio
In this post I will be going over how to install a flagstone patio. This project was a “Dry-Set” flagstone patio. I used quotation marks for the phrase dry-set because there will be Portland cement and some water used with this setting method.
Materials Used:
- Average 1 ½” Thick Flagstone
- Concrete Sand
- 2A Modified Crushed Stone
- Shovels
- Garden Hoe
- Brick & Block Trowel
- Rubber Mallet
- Tamper
- Level
- Wheel Barrow
- 5 Gallon Buckets
- Portland Cement
- Sponge
- Grinder with Diamond Wheel
- Polymeric Sand
- Broom
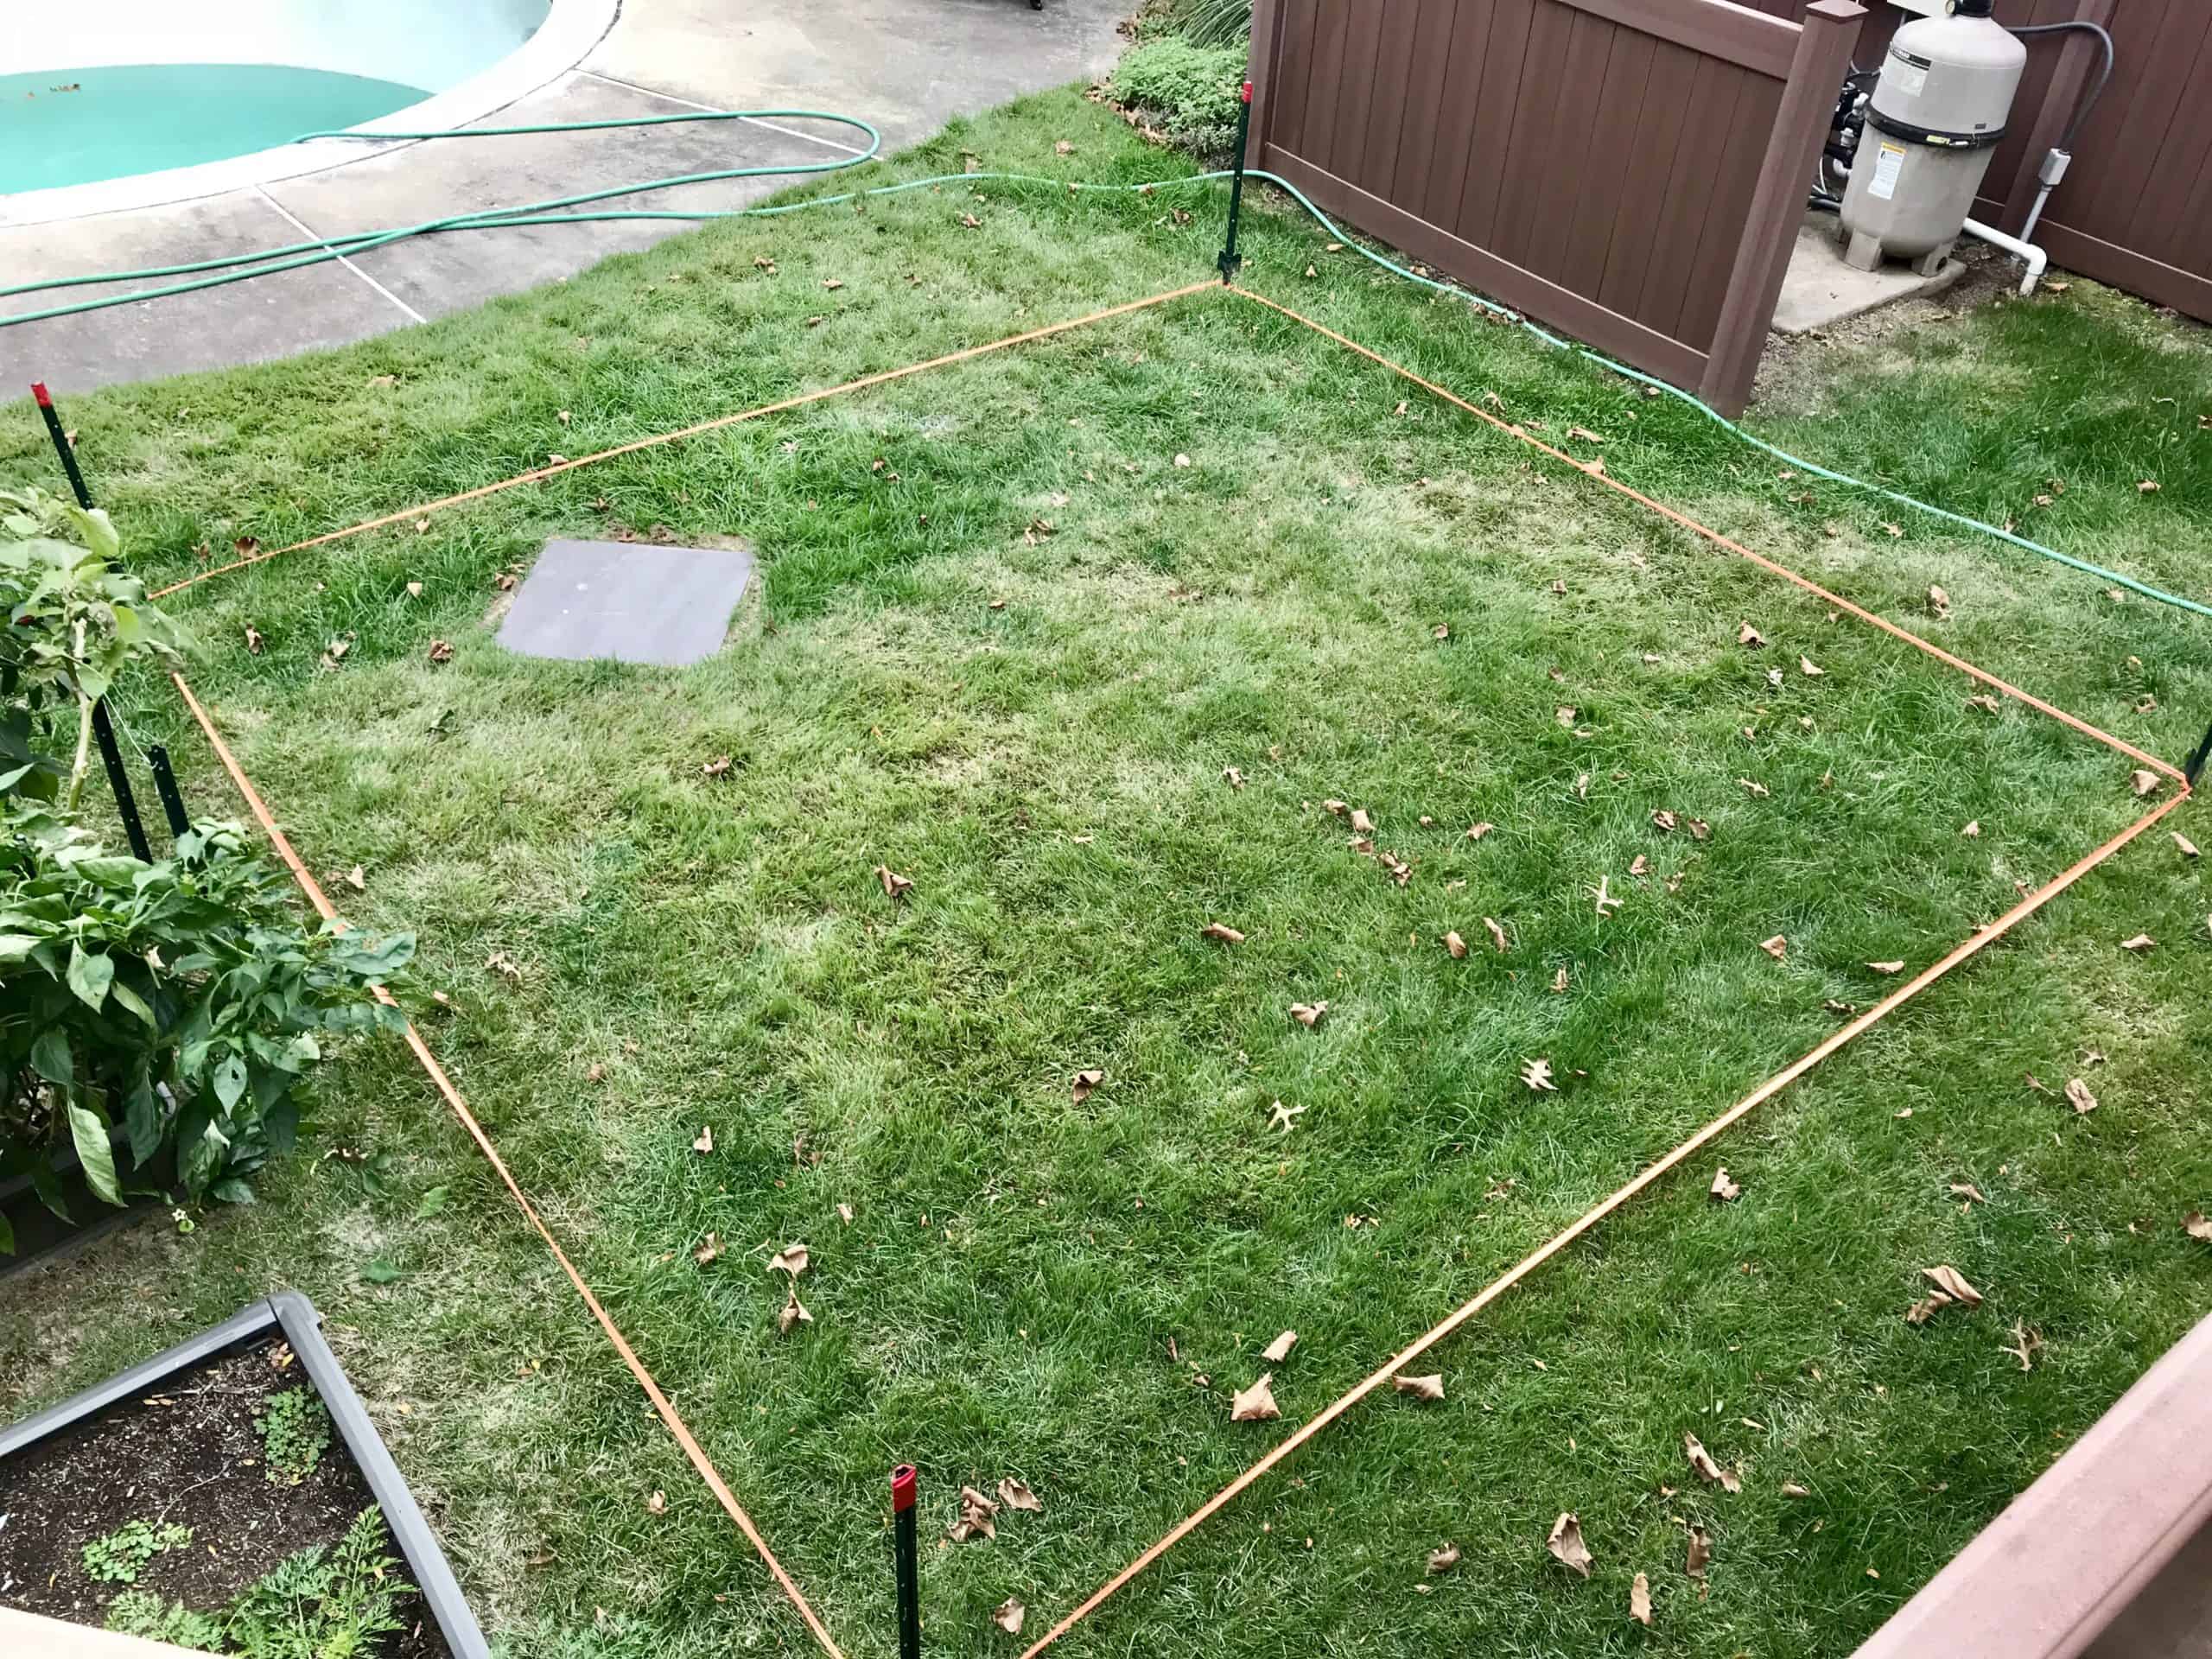
My first step was to identify the actual area where I wanted to put this patio. I staked off a (somewhat) square 12’-6” x 12’-6” area in the yard and also taped it off for visual aesthetics. The finished size of the patio will end up being a nominal 12’-0” x 12’-0” dimension, but I wanted a little extra room excavated out along the edges in case I needed more room to work.
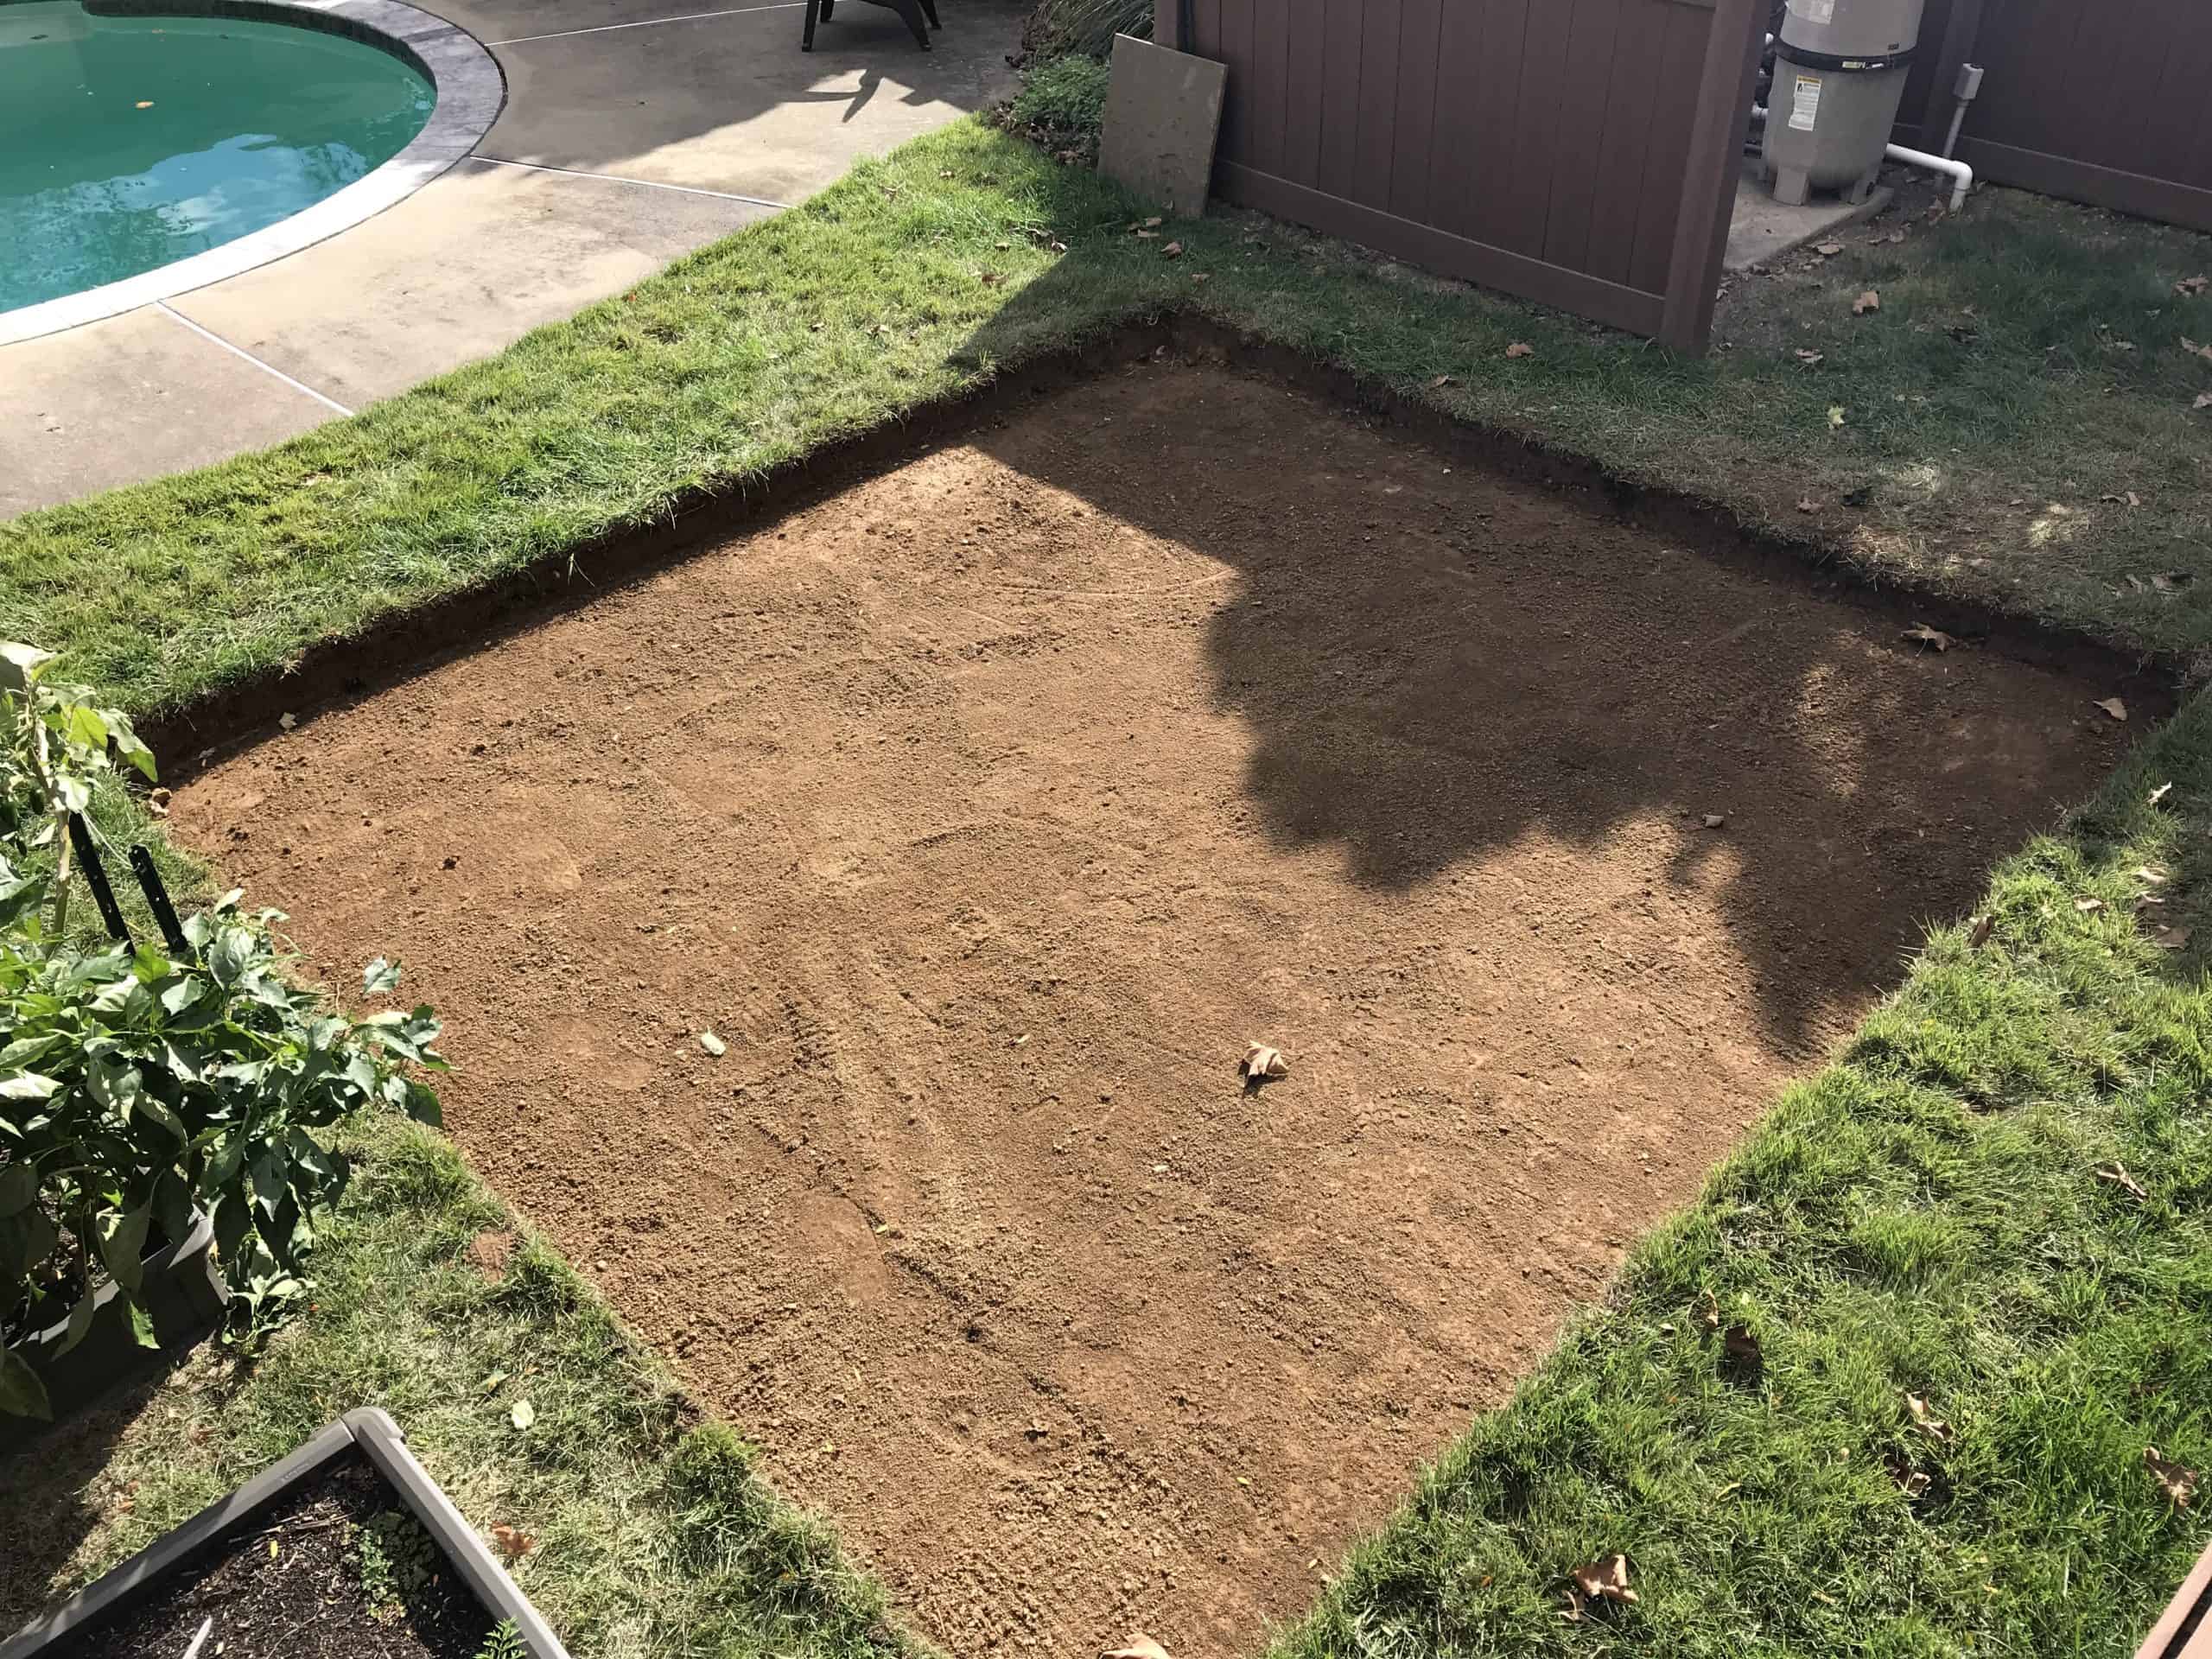
Now the work begins, time to dig. To accommodate the depth of my modified stone base, setting bed and flagstone thickness, I dug the whole area out to an approximate 7” depth. That works out to roughly a 4” layer of the modified (tamped at 2” intervals), about an 1 ½” layer for my setting bed, and the flagstone averages about 1 ½” in thickness. When doing your own patio or walkway project, just let your local supplier know the depth, length and width of your area and they will be able to tell you the correct amount of cement, sand, and modified stone you’ll need.
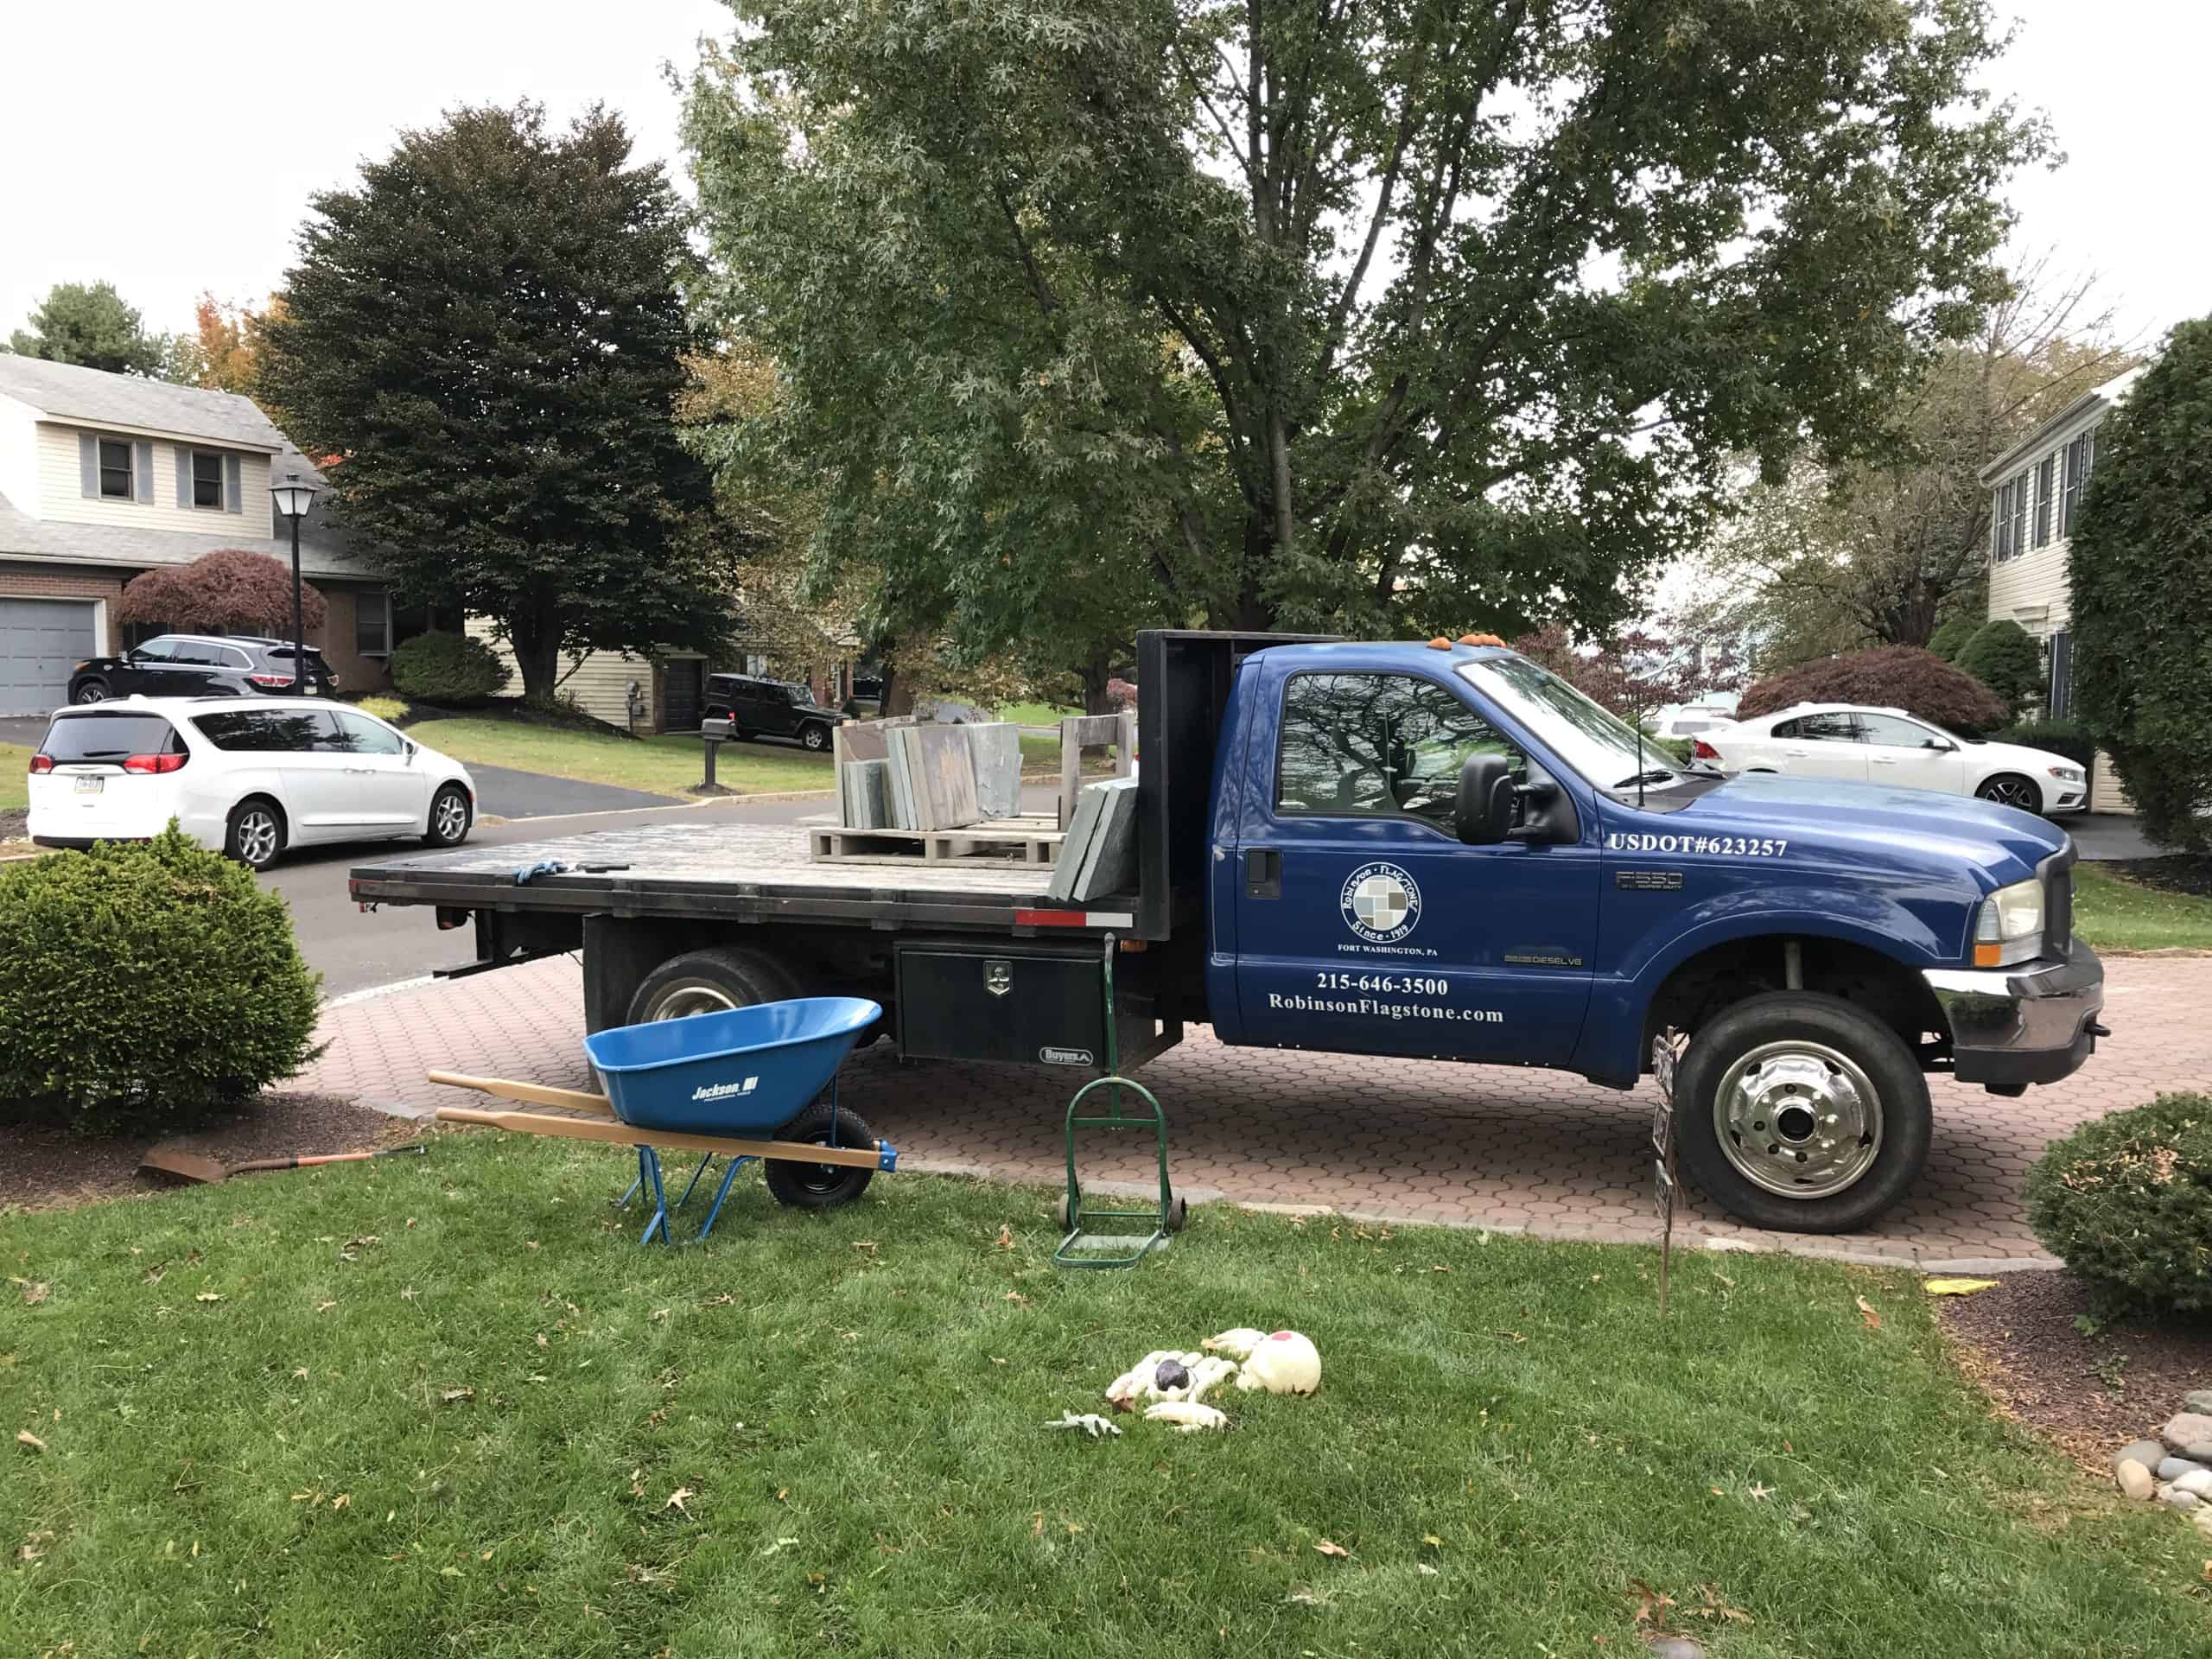
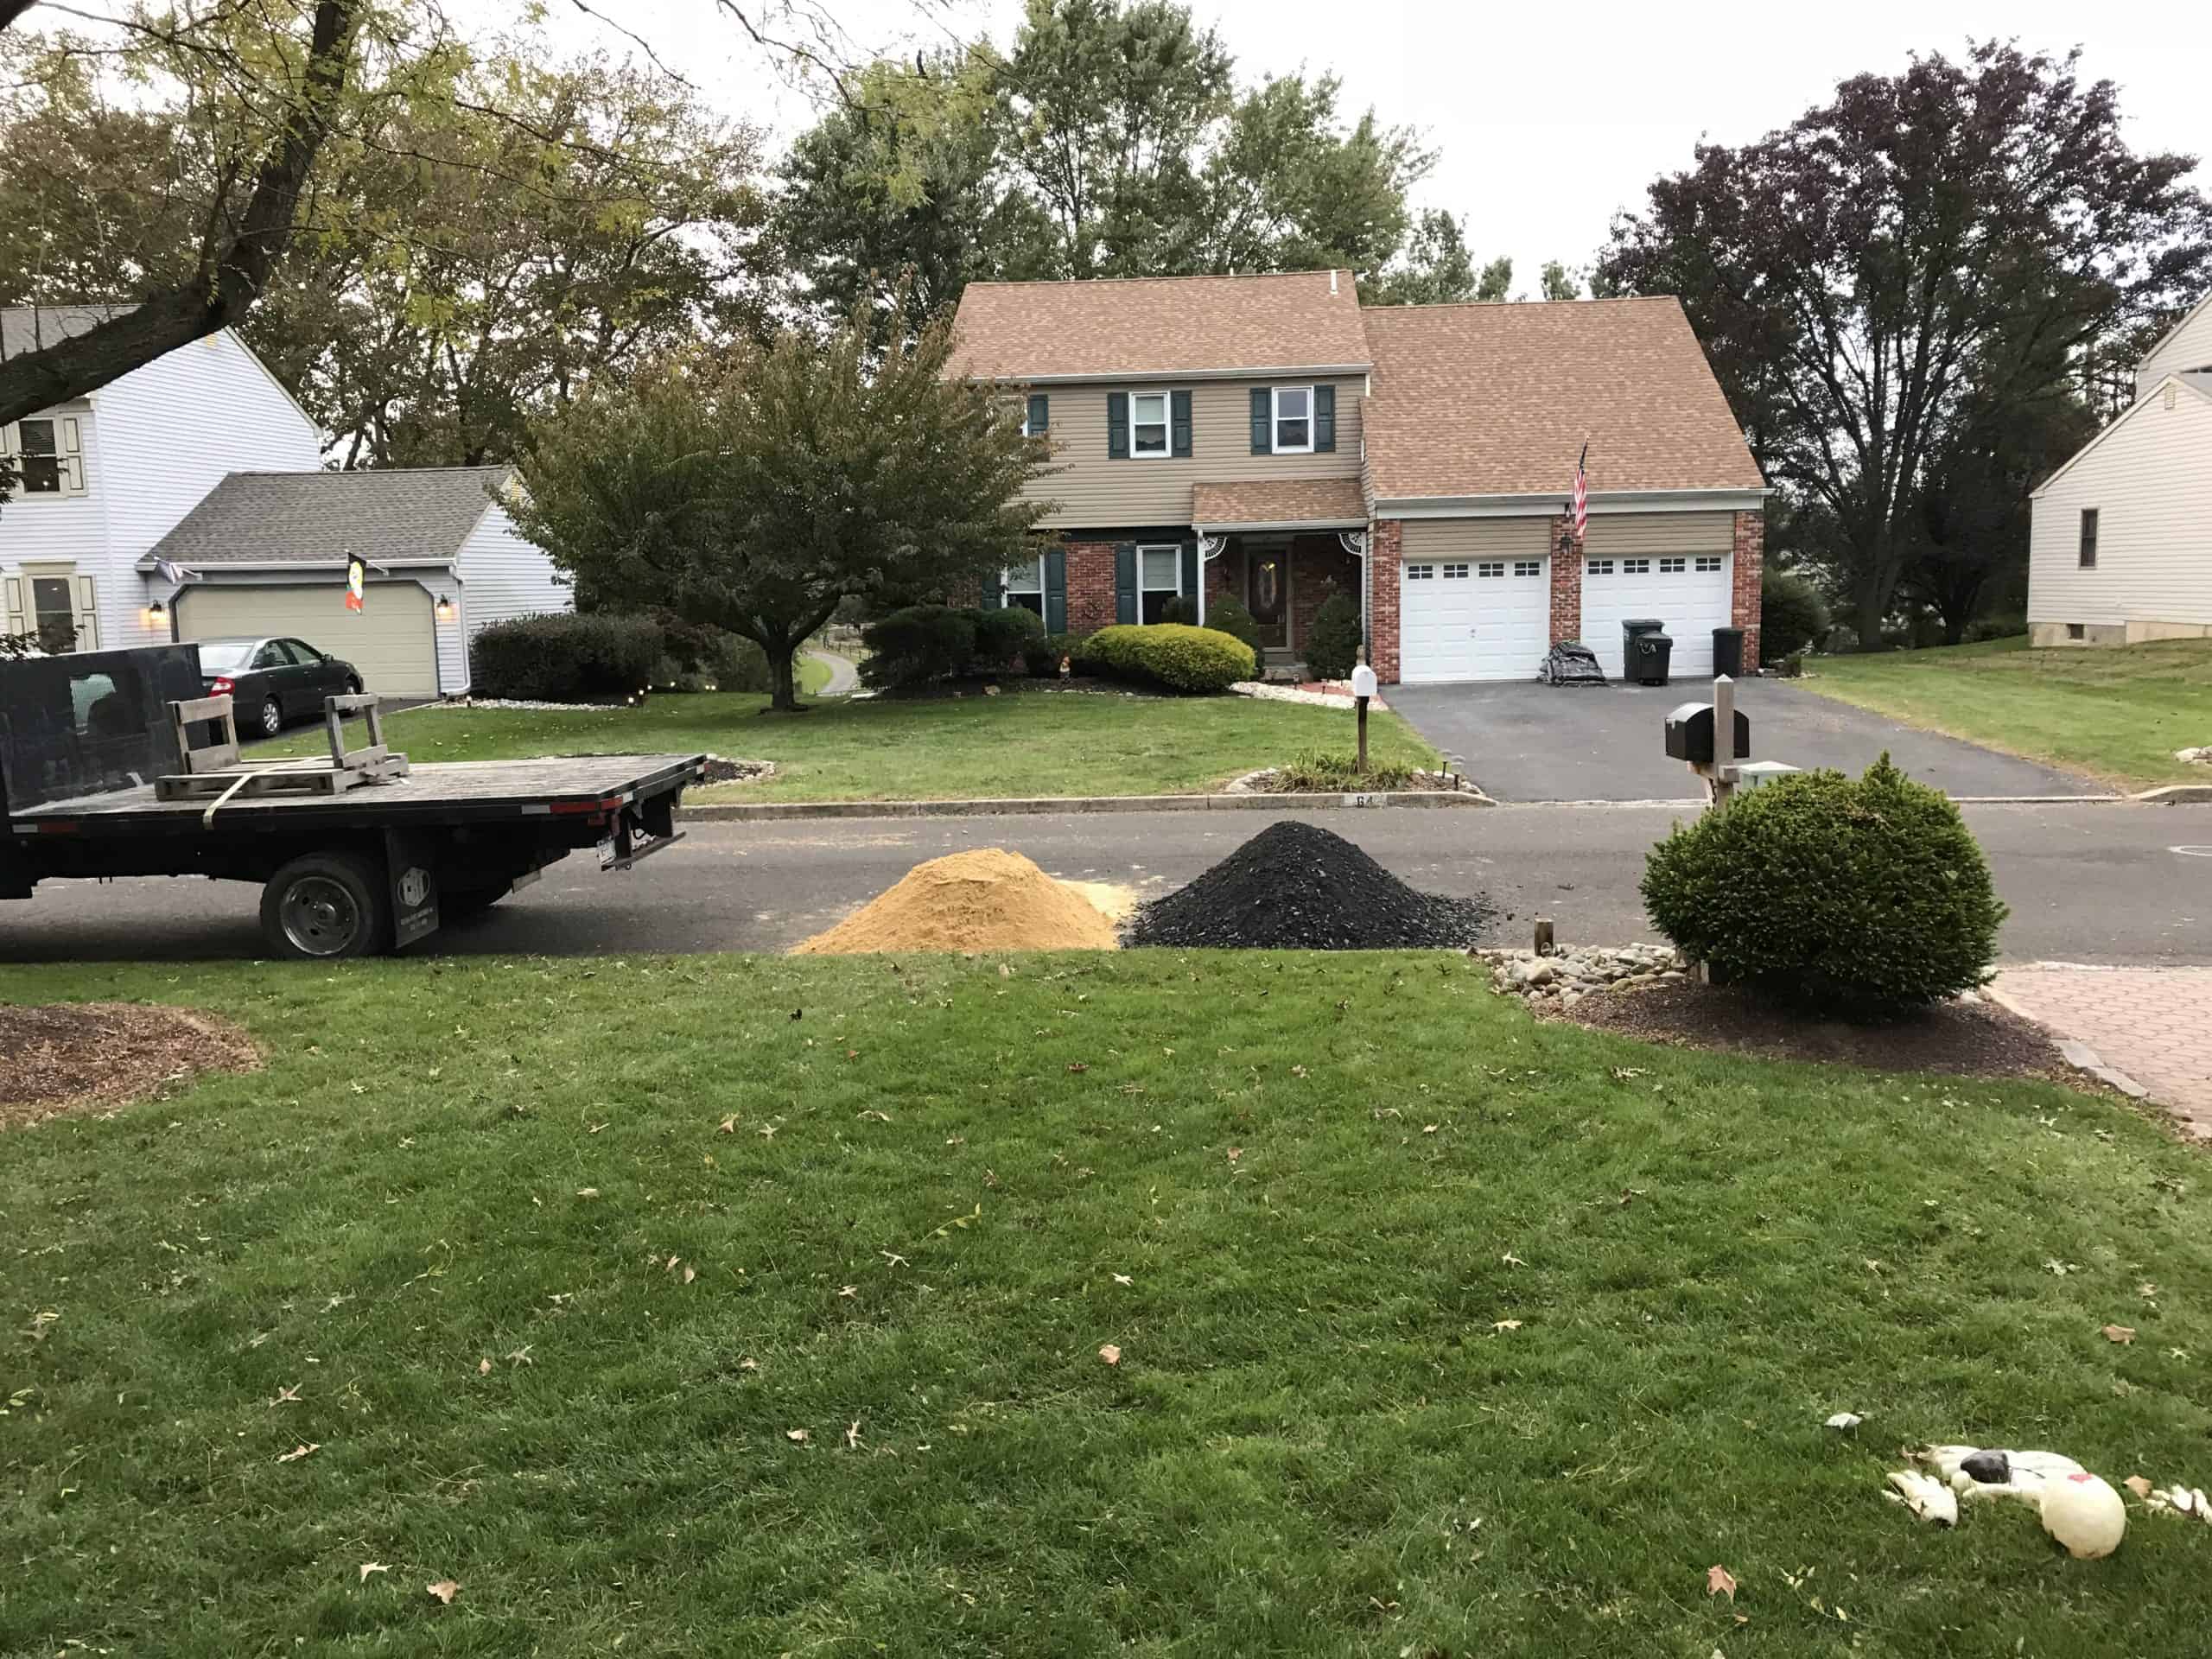
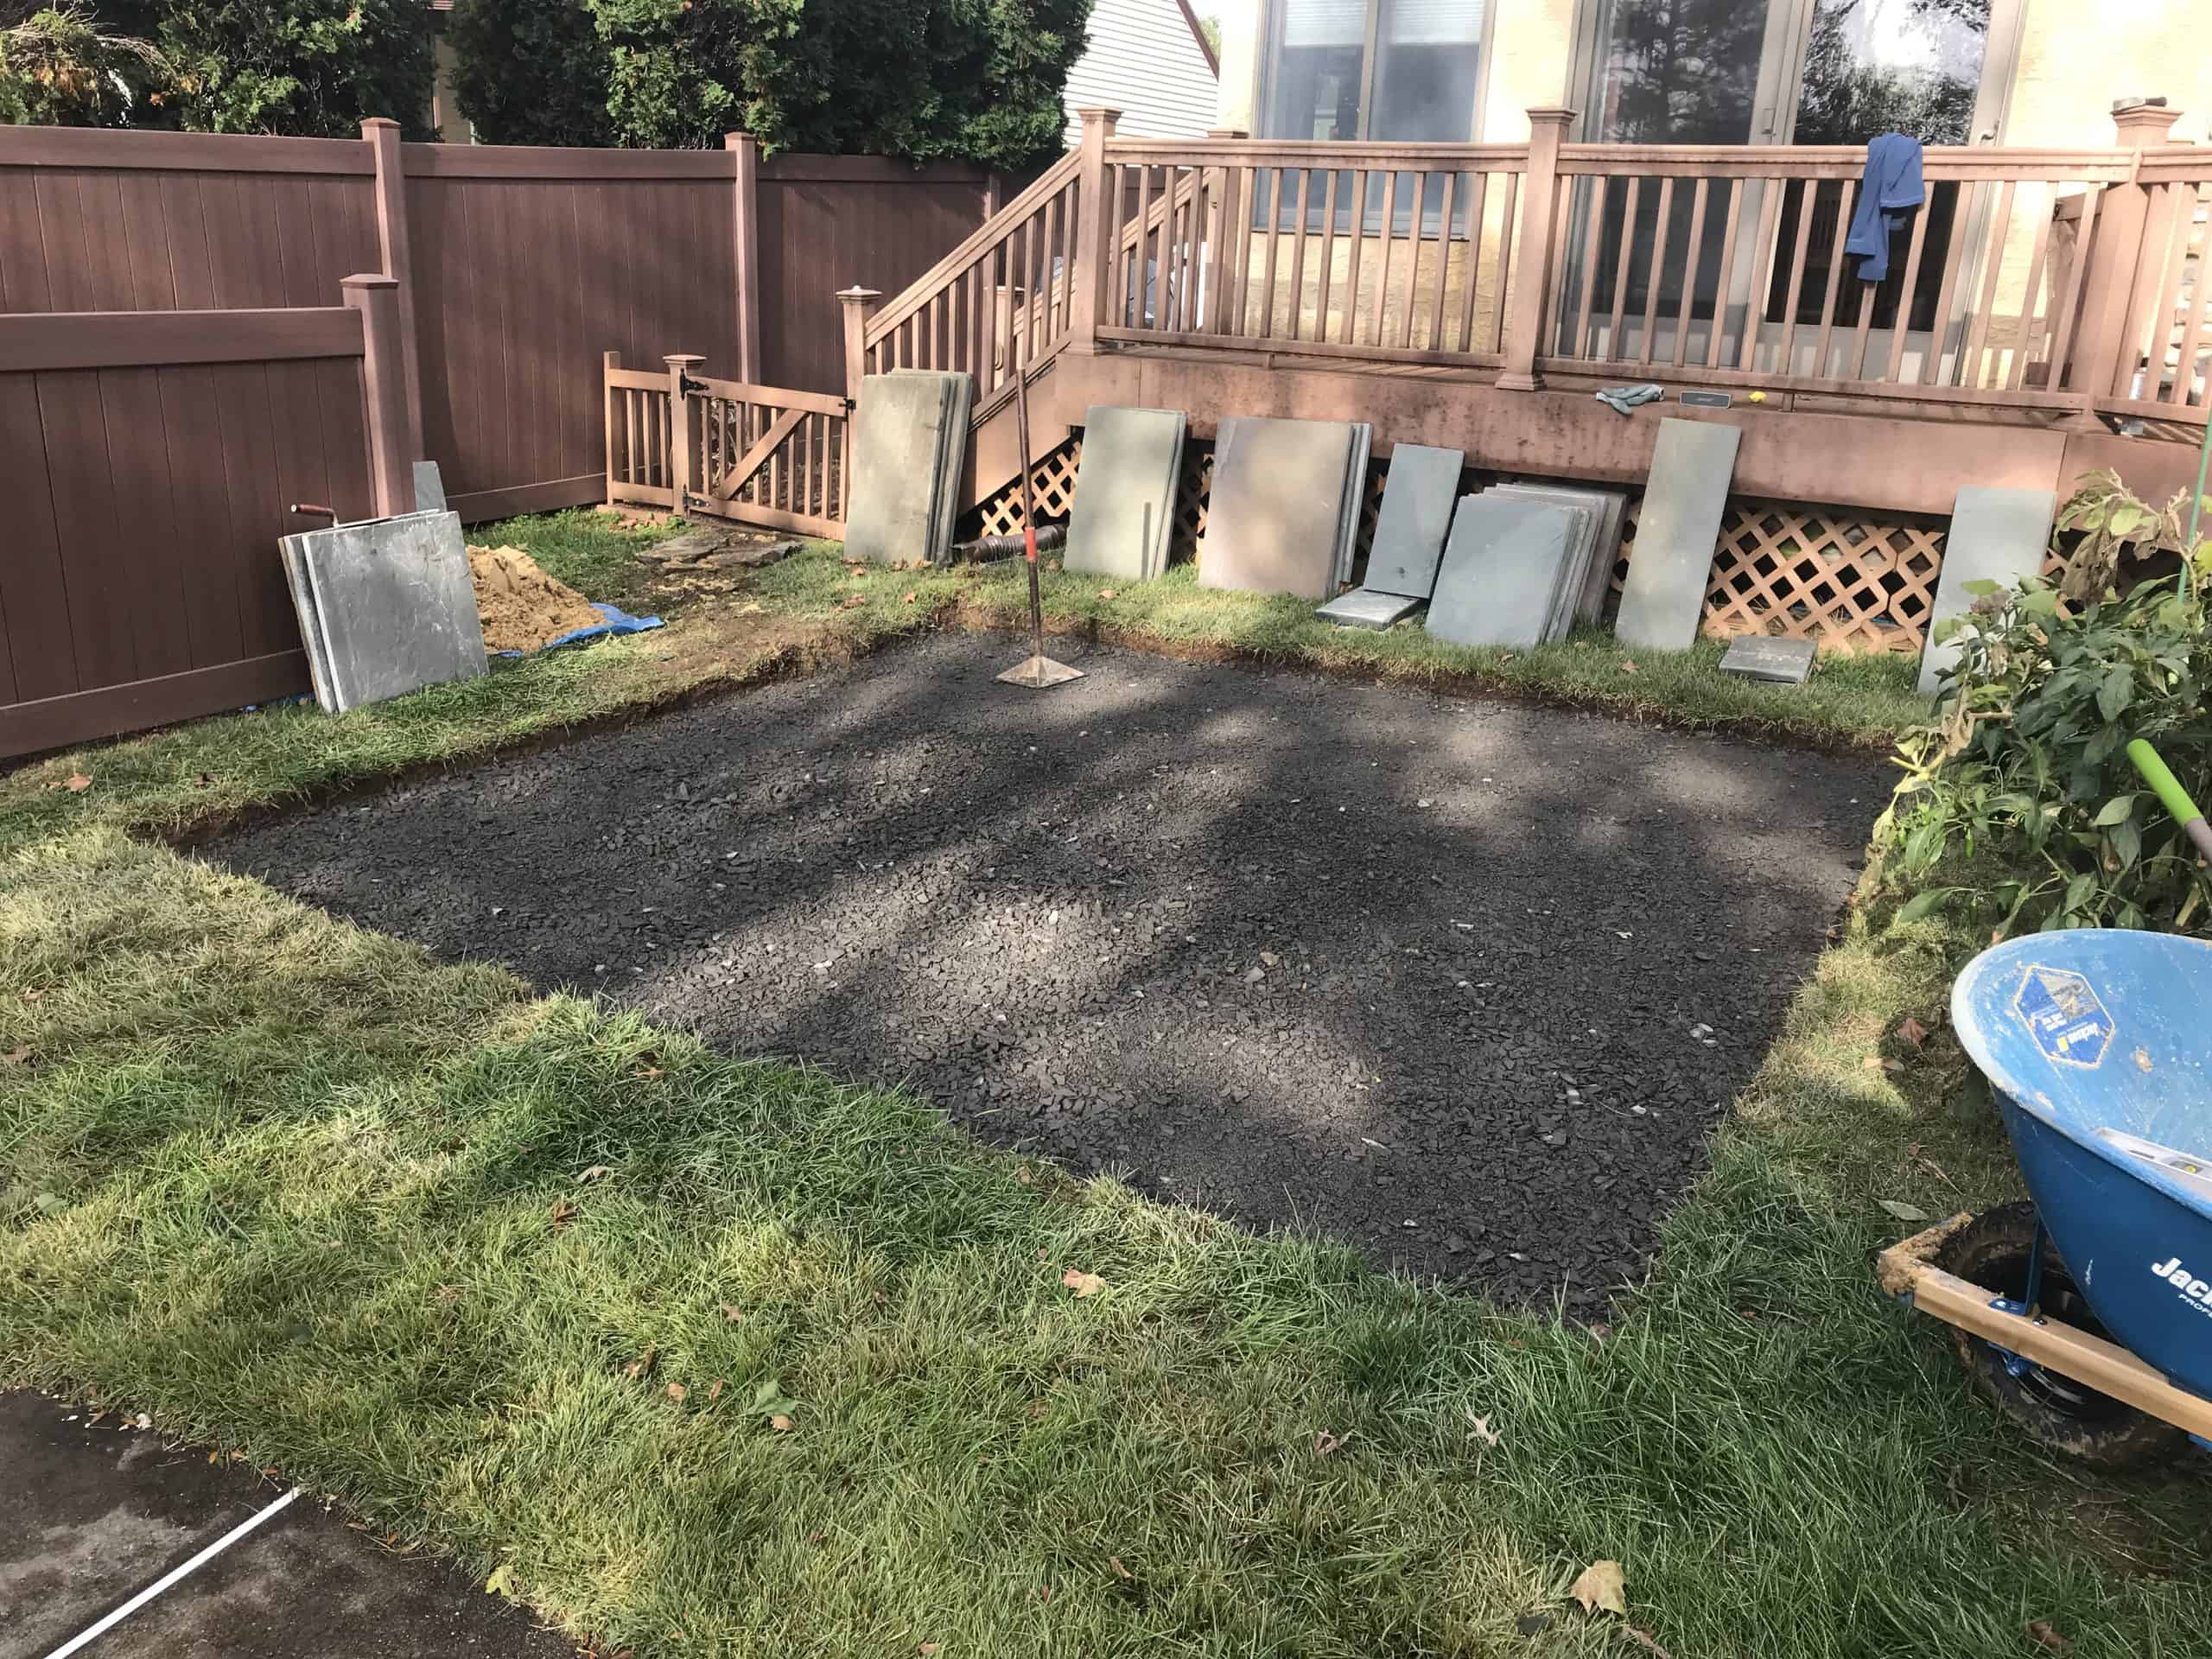
My sand, modified, cement, and flagstone was all delivered to the front of the house and had to be brought out back with a wheel barrow by hand, which was… fun. The 2A modified crushed stone was then laid down in two 2” thick layers. Each layer was firmly tamped down and compacted tight.
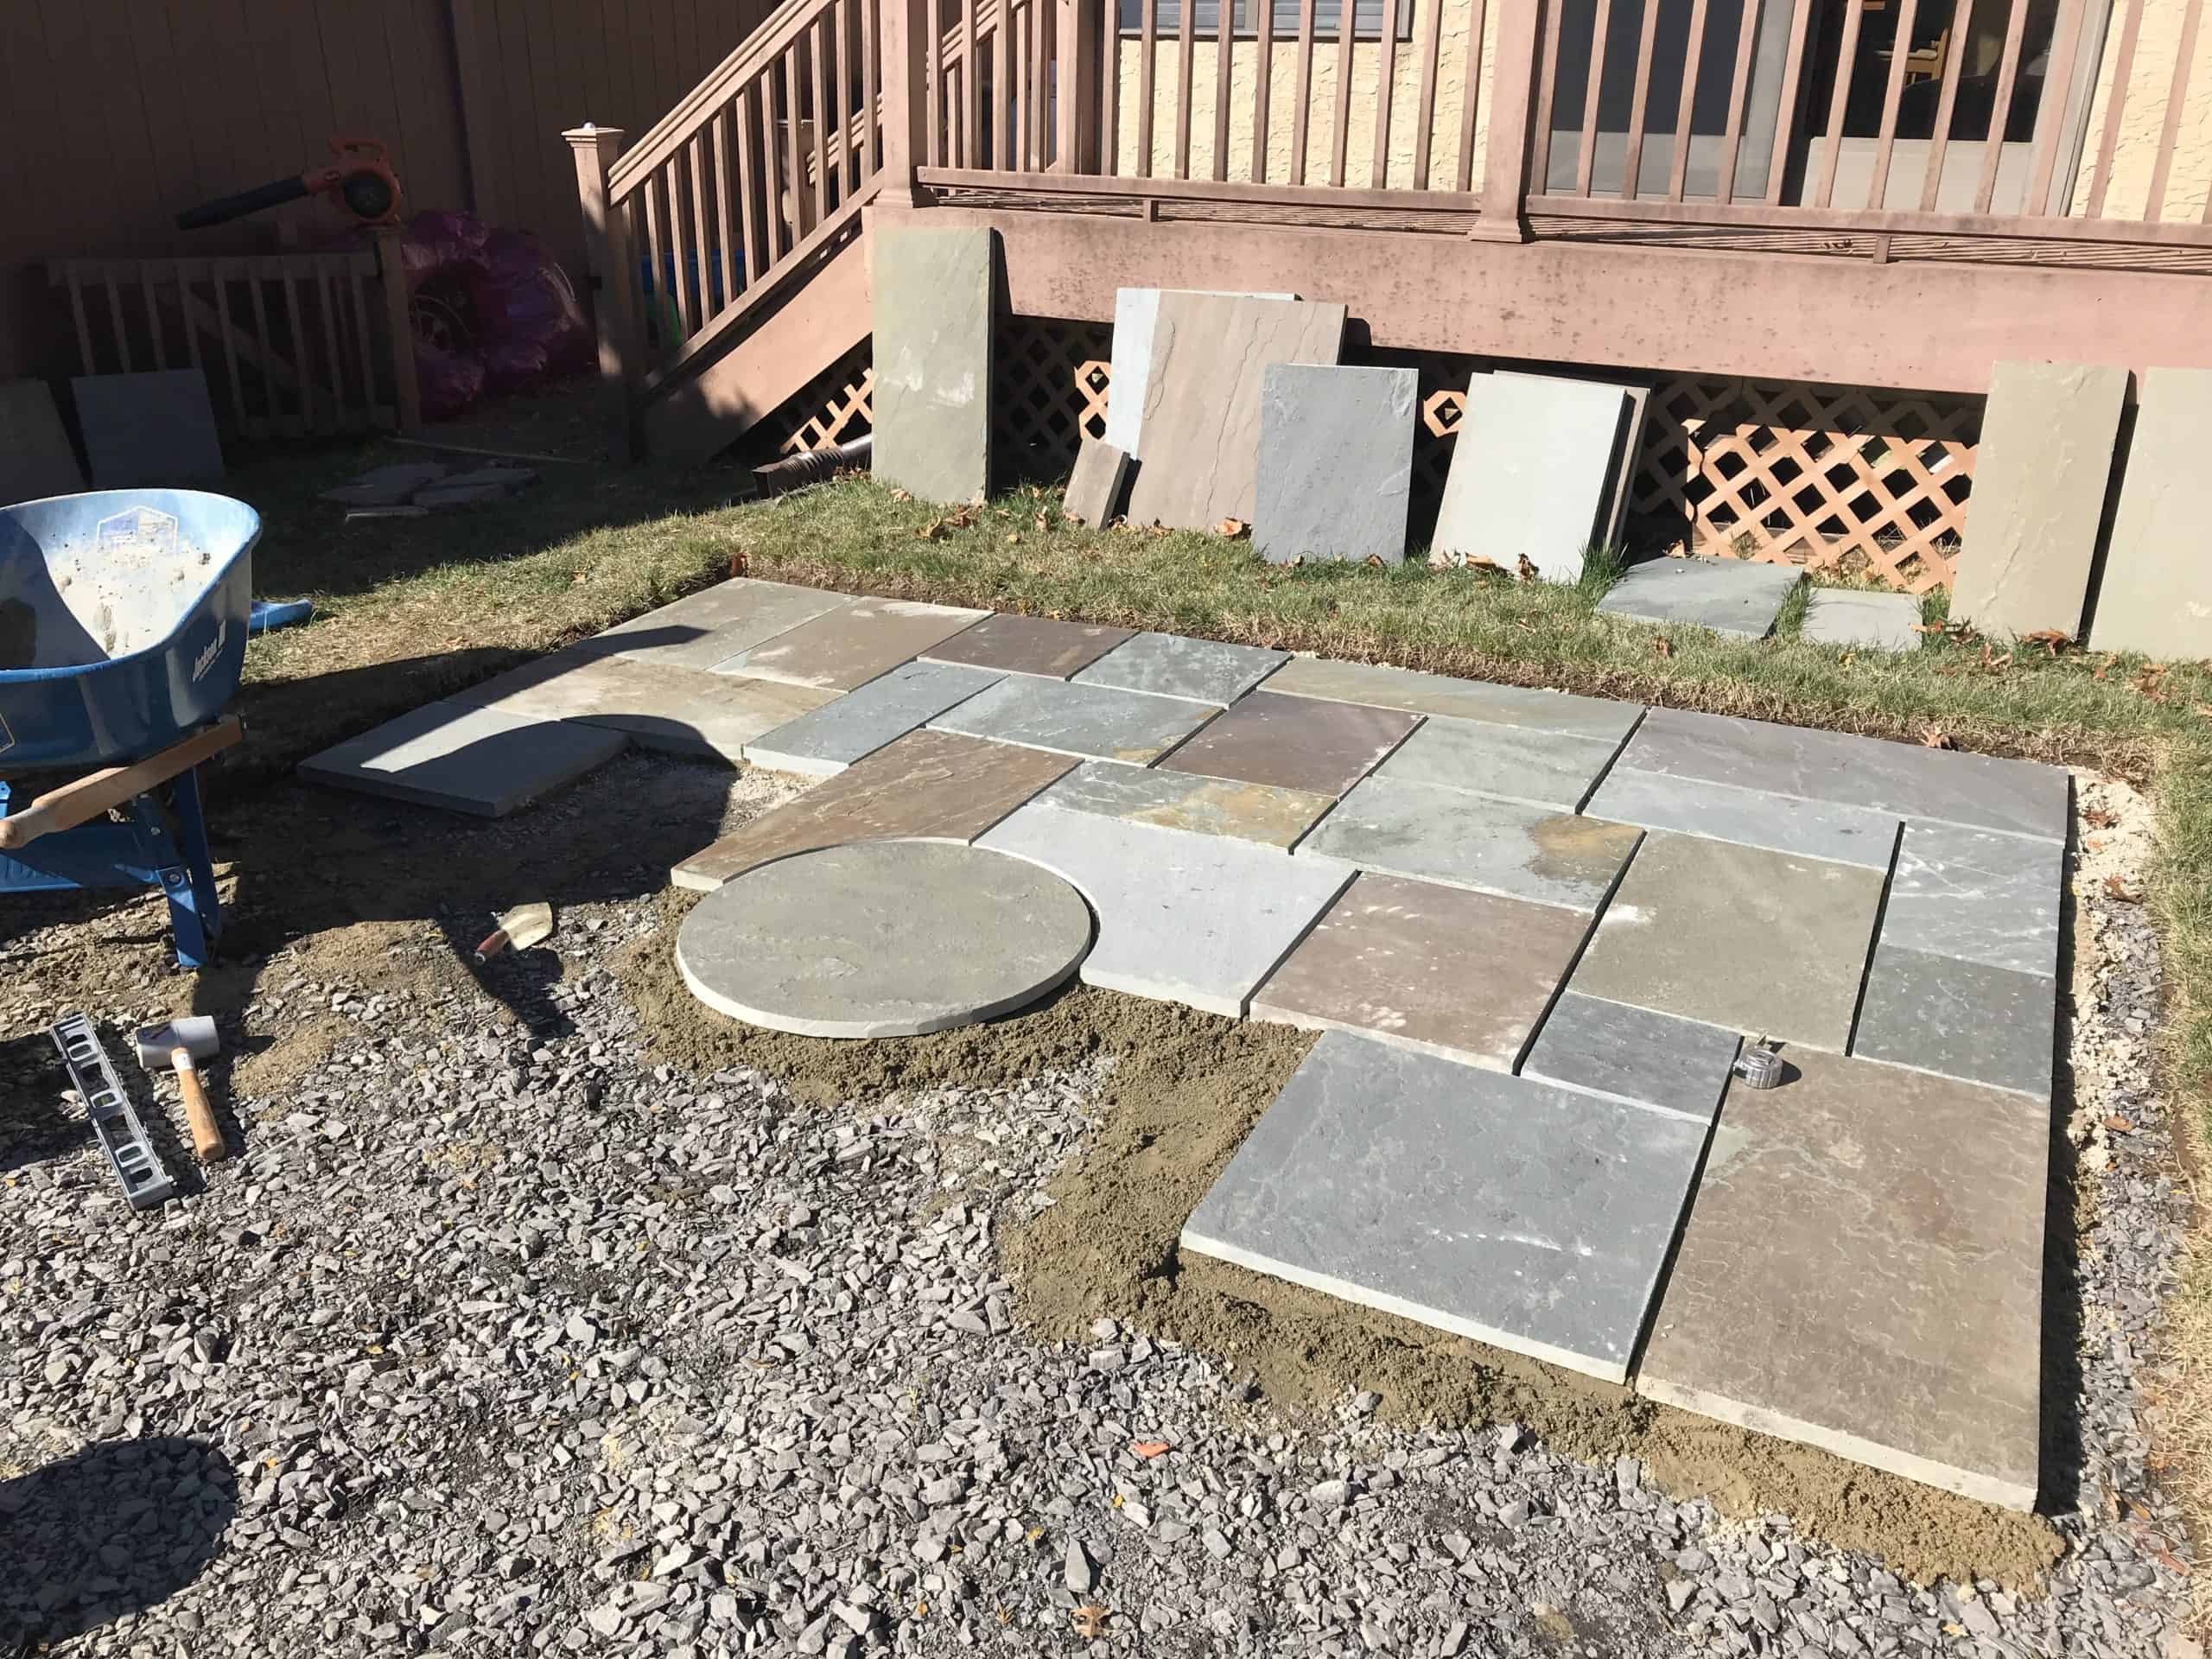
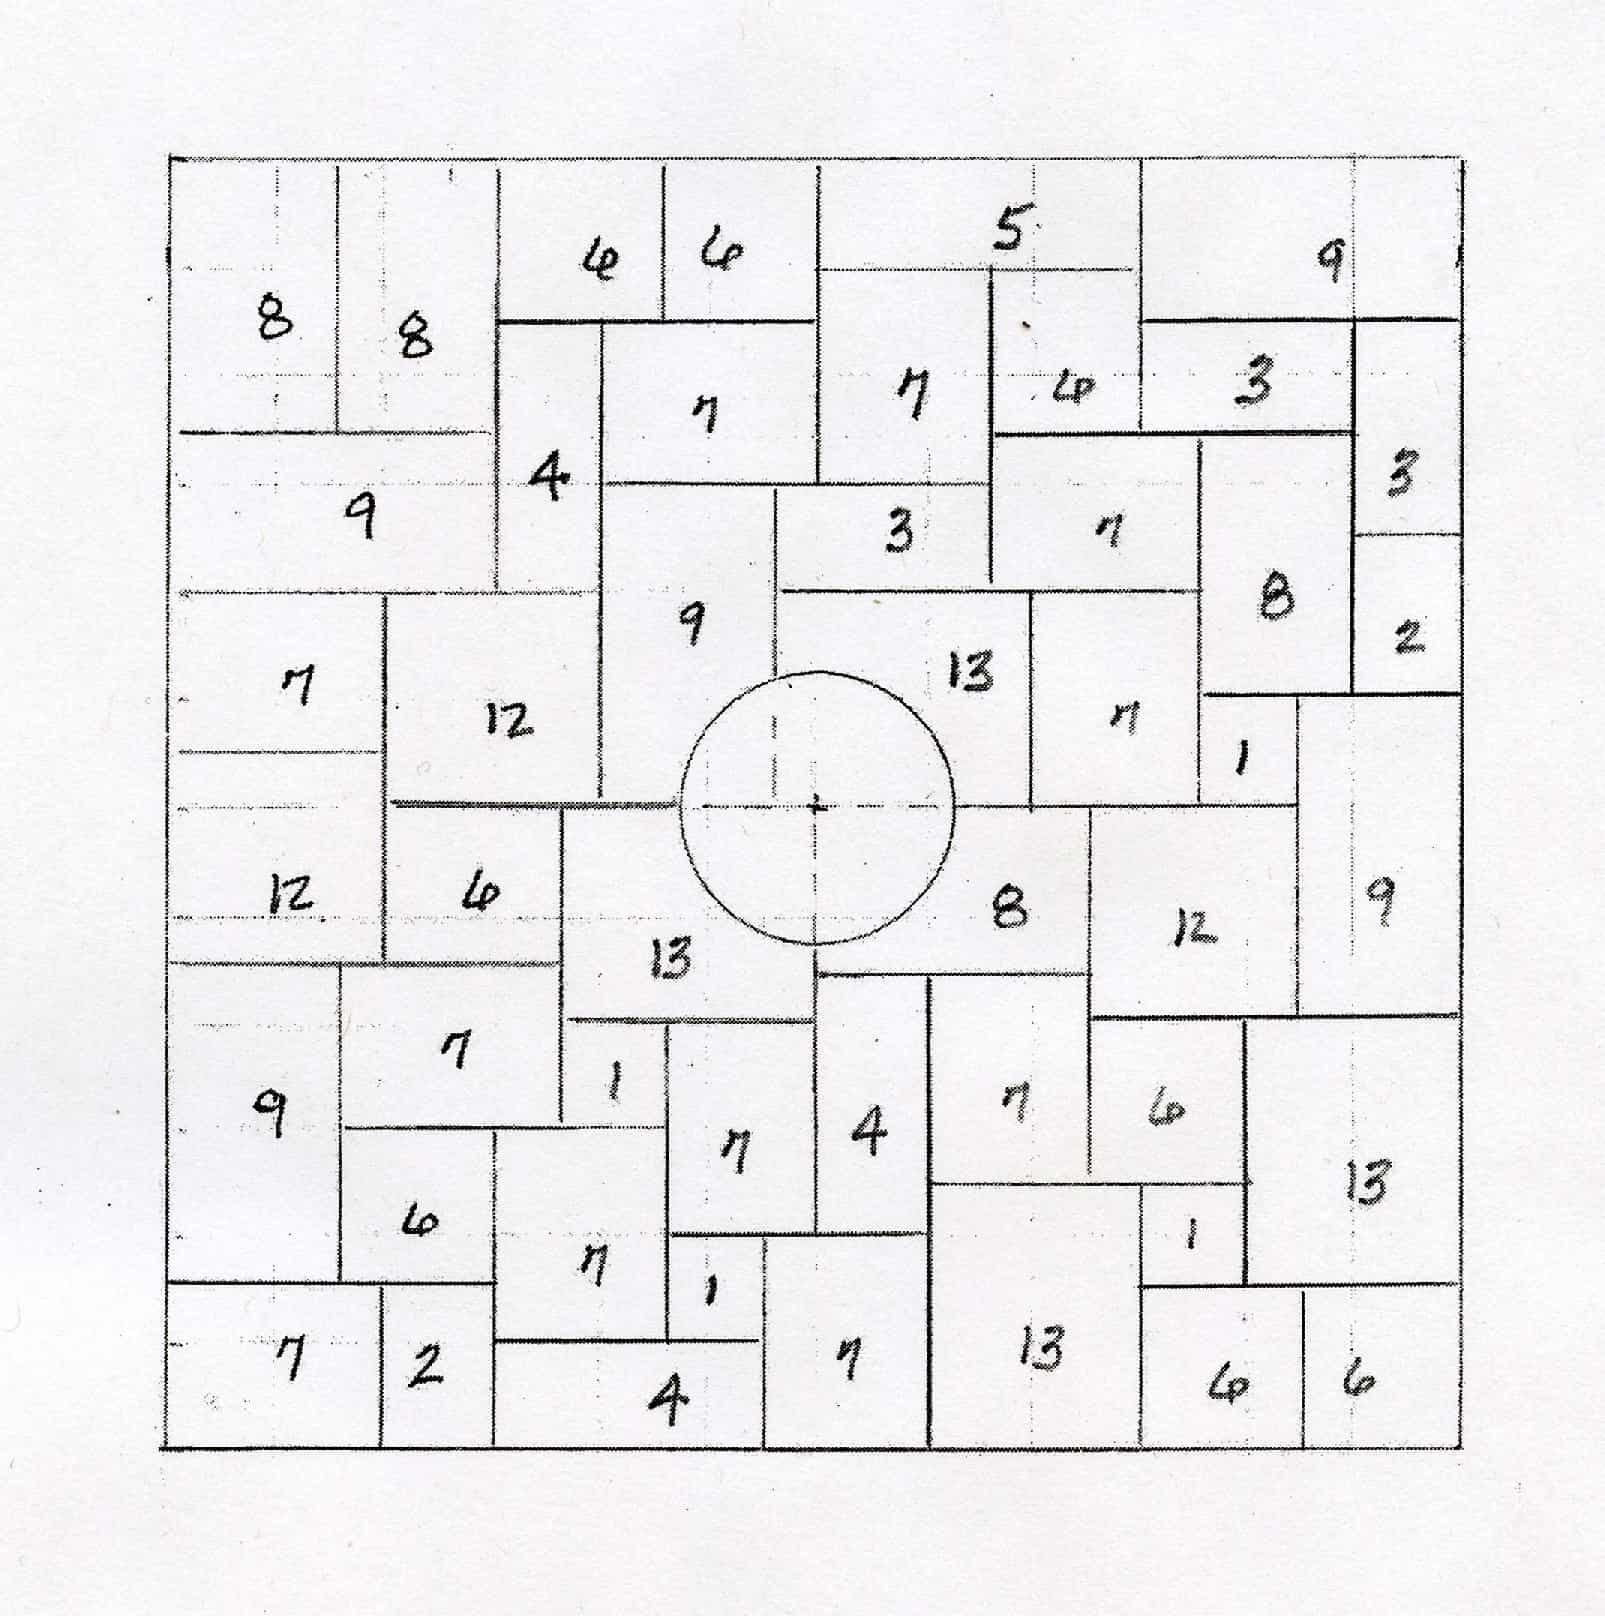
After the modified sub-base was in and tightly compacted, it was finally time to start setting the flagstone. I used full color range, natural cleft flagstone https://staging.robinsonflagstone.com/pa-flagstones/full-color-range-natural-cleft-pa-flagstone for this project. Each piece of flagstone will be set with a ½” wide joint. I used a numbered setting sketch for this patio which plotted out the proper location of each individual stone. I highly recommend using a sketch, the less brain power that needs to be utilized in the field, the better. It really makes life easier knowing what size piece of stone you need to grab next to keep chugging along.
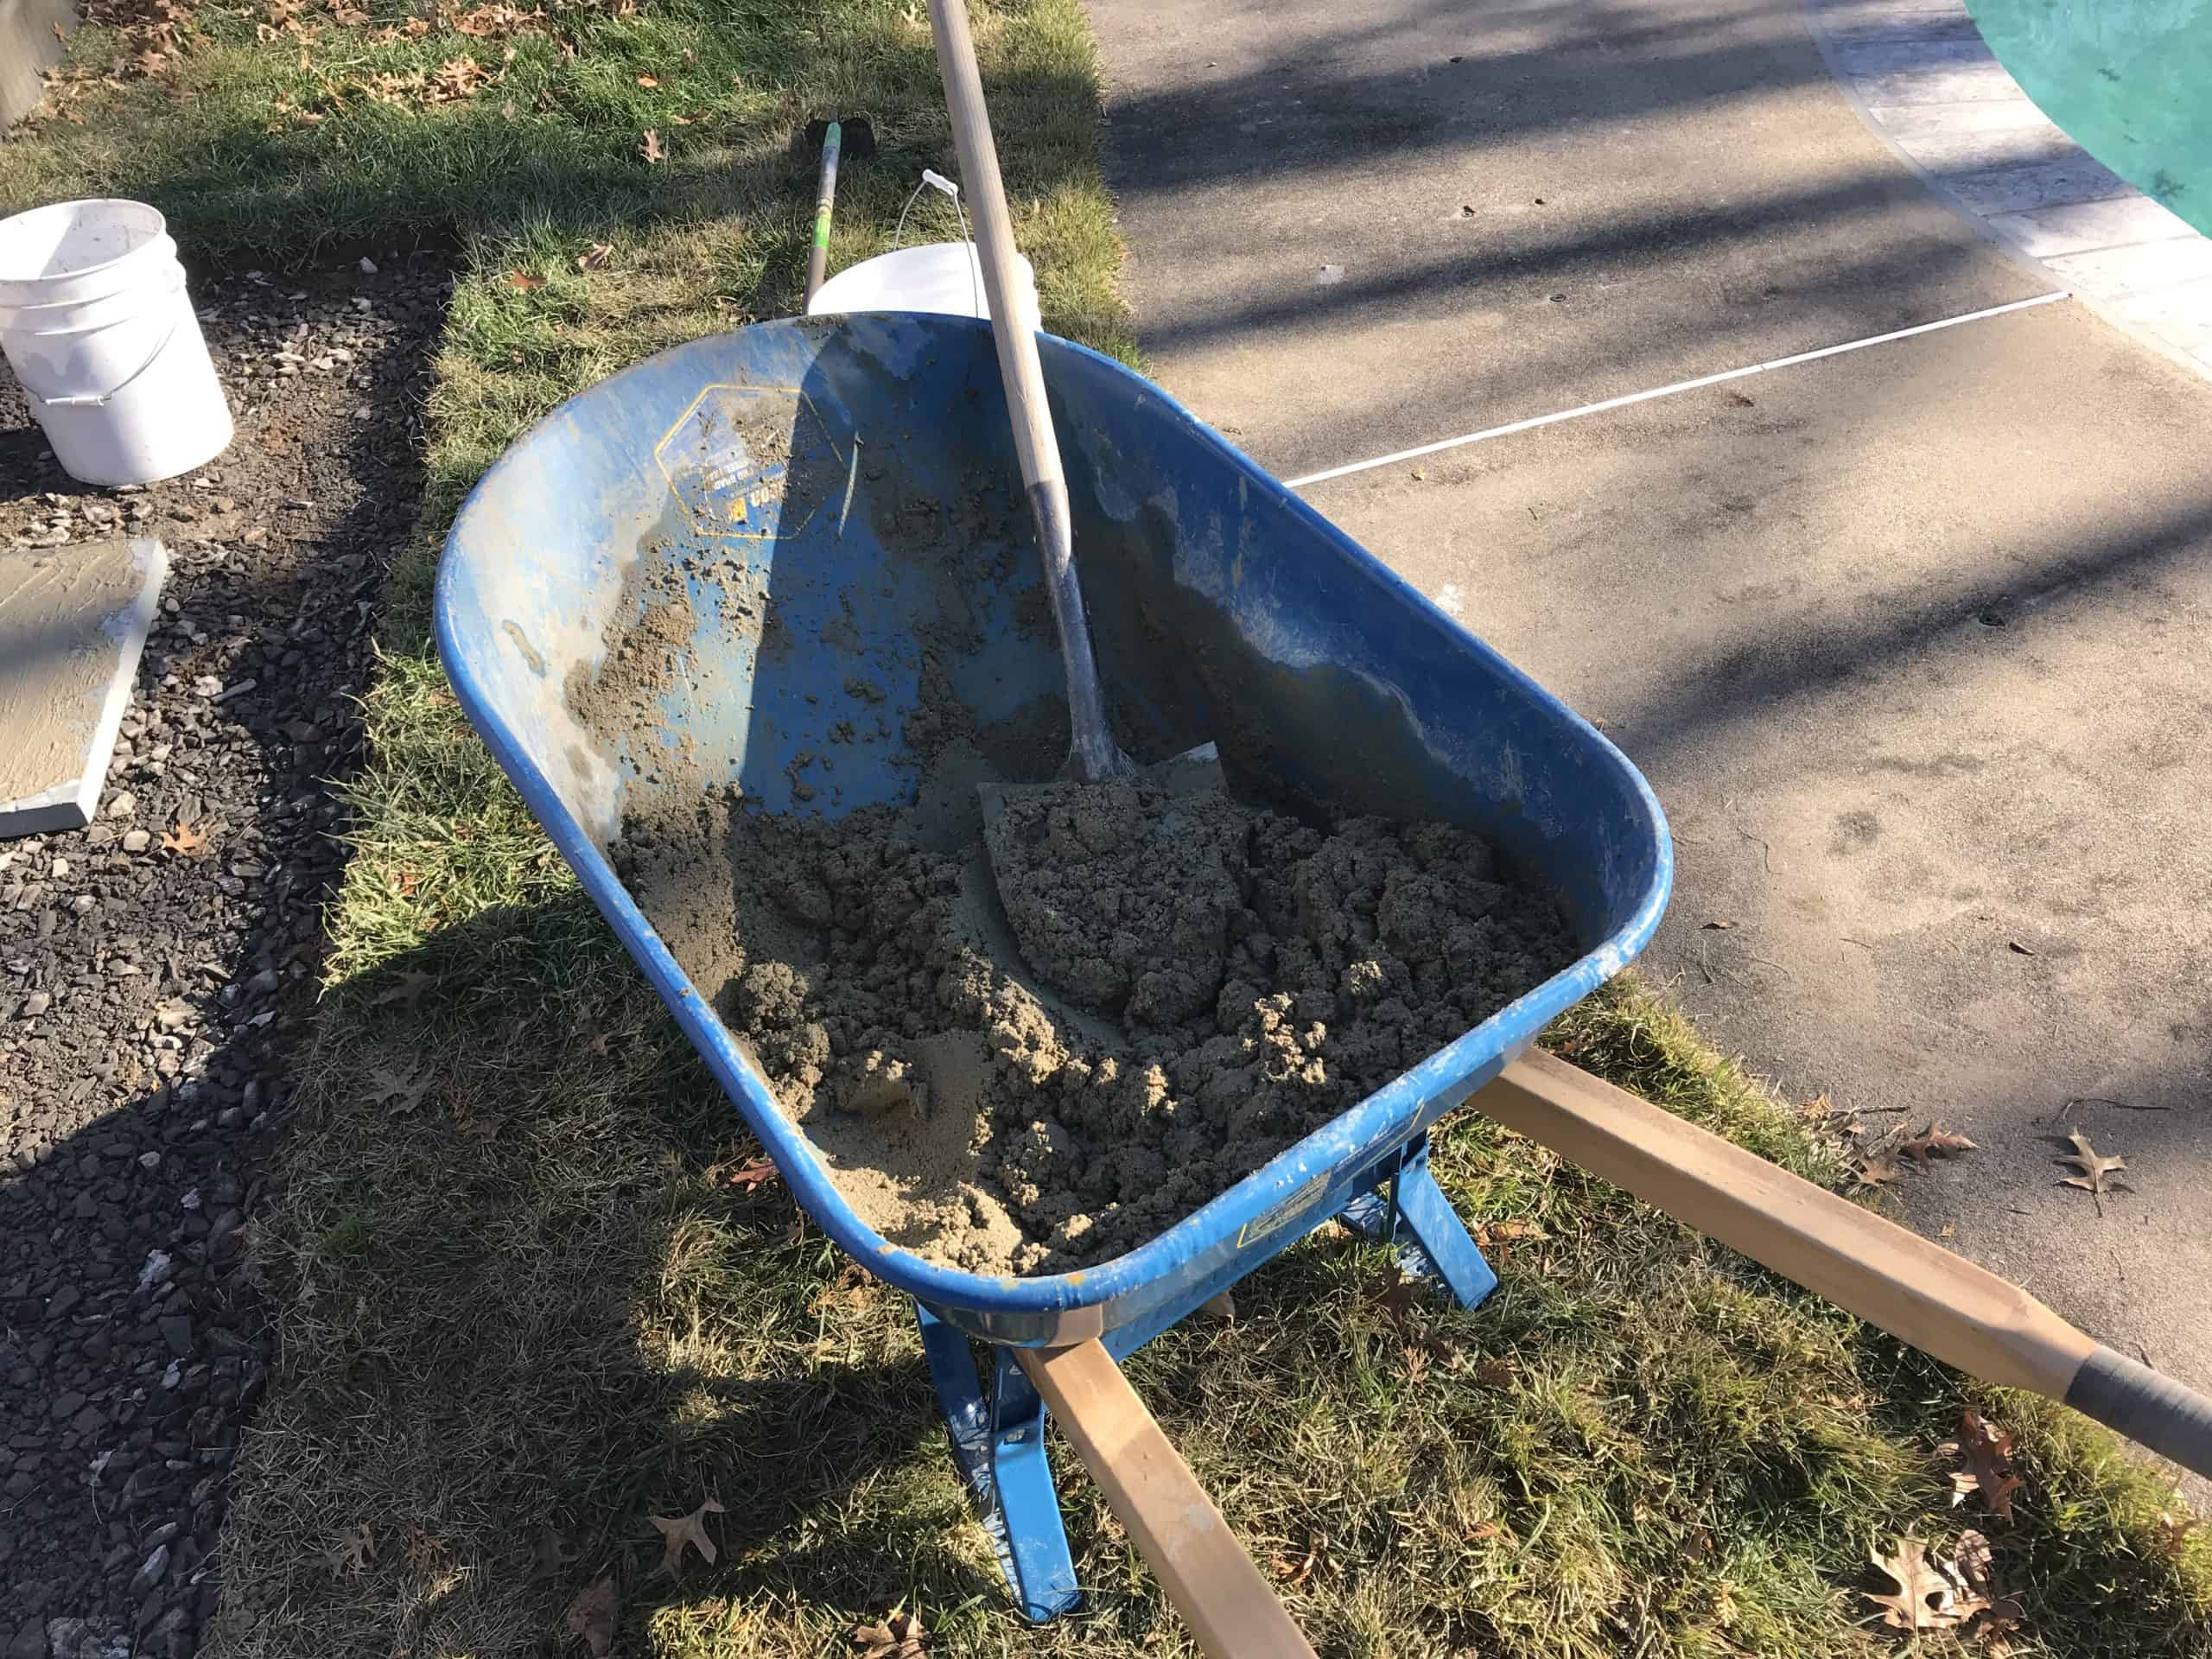
The setting bed I’m using (sometimes known as “dry-pack”) consists of 4 parts concrete sand to one part Portland cement. Four shovelfuls of sand, and one big shovelful of Portland go in the wheel barrow and are vigorously mixed together with a garden hoe. Only add enough water to keep your mix slightly damp. You do not want the mix dripping or oozing with over saturation. *Do NOT use any lime in your setting mix. Lime can seep up thru the setting bed and create white “halos” around the stones, for this same reason avoid using pre mixed bags of concrete. Mixing your own setting bed will make you feel great and vitalized!
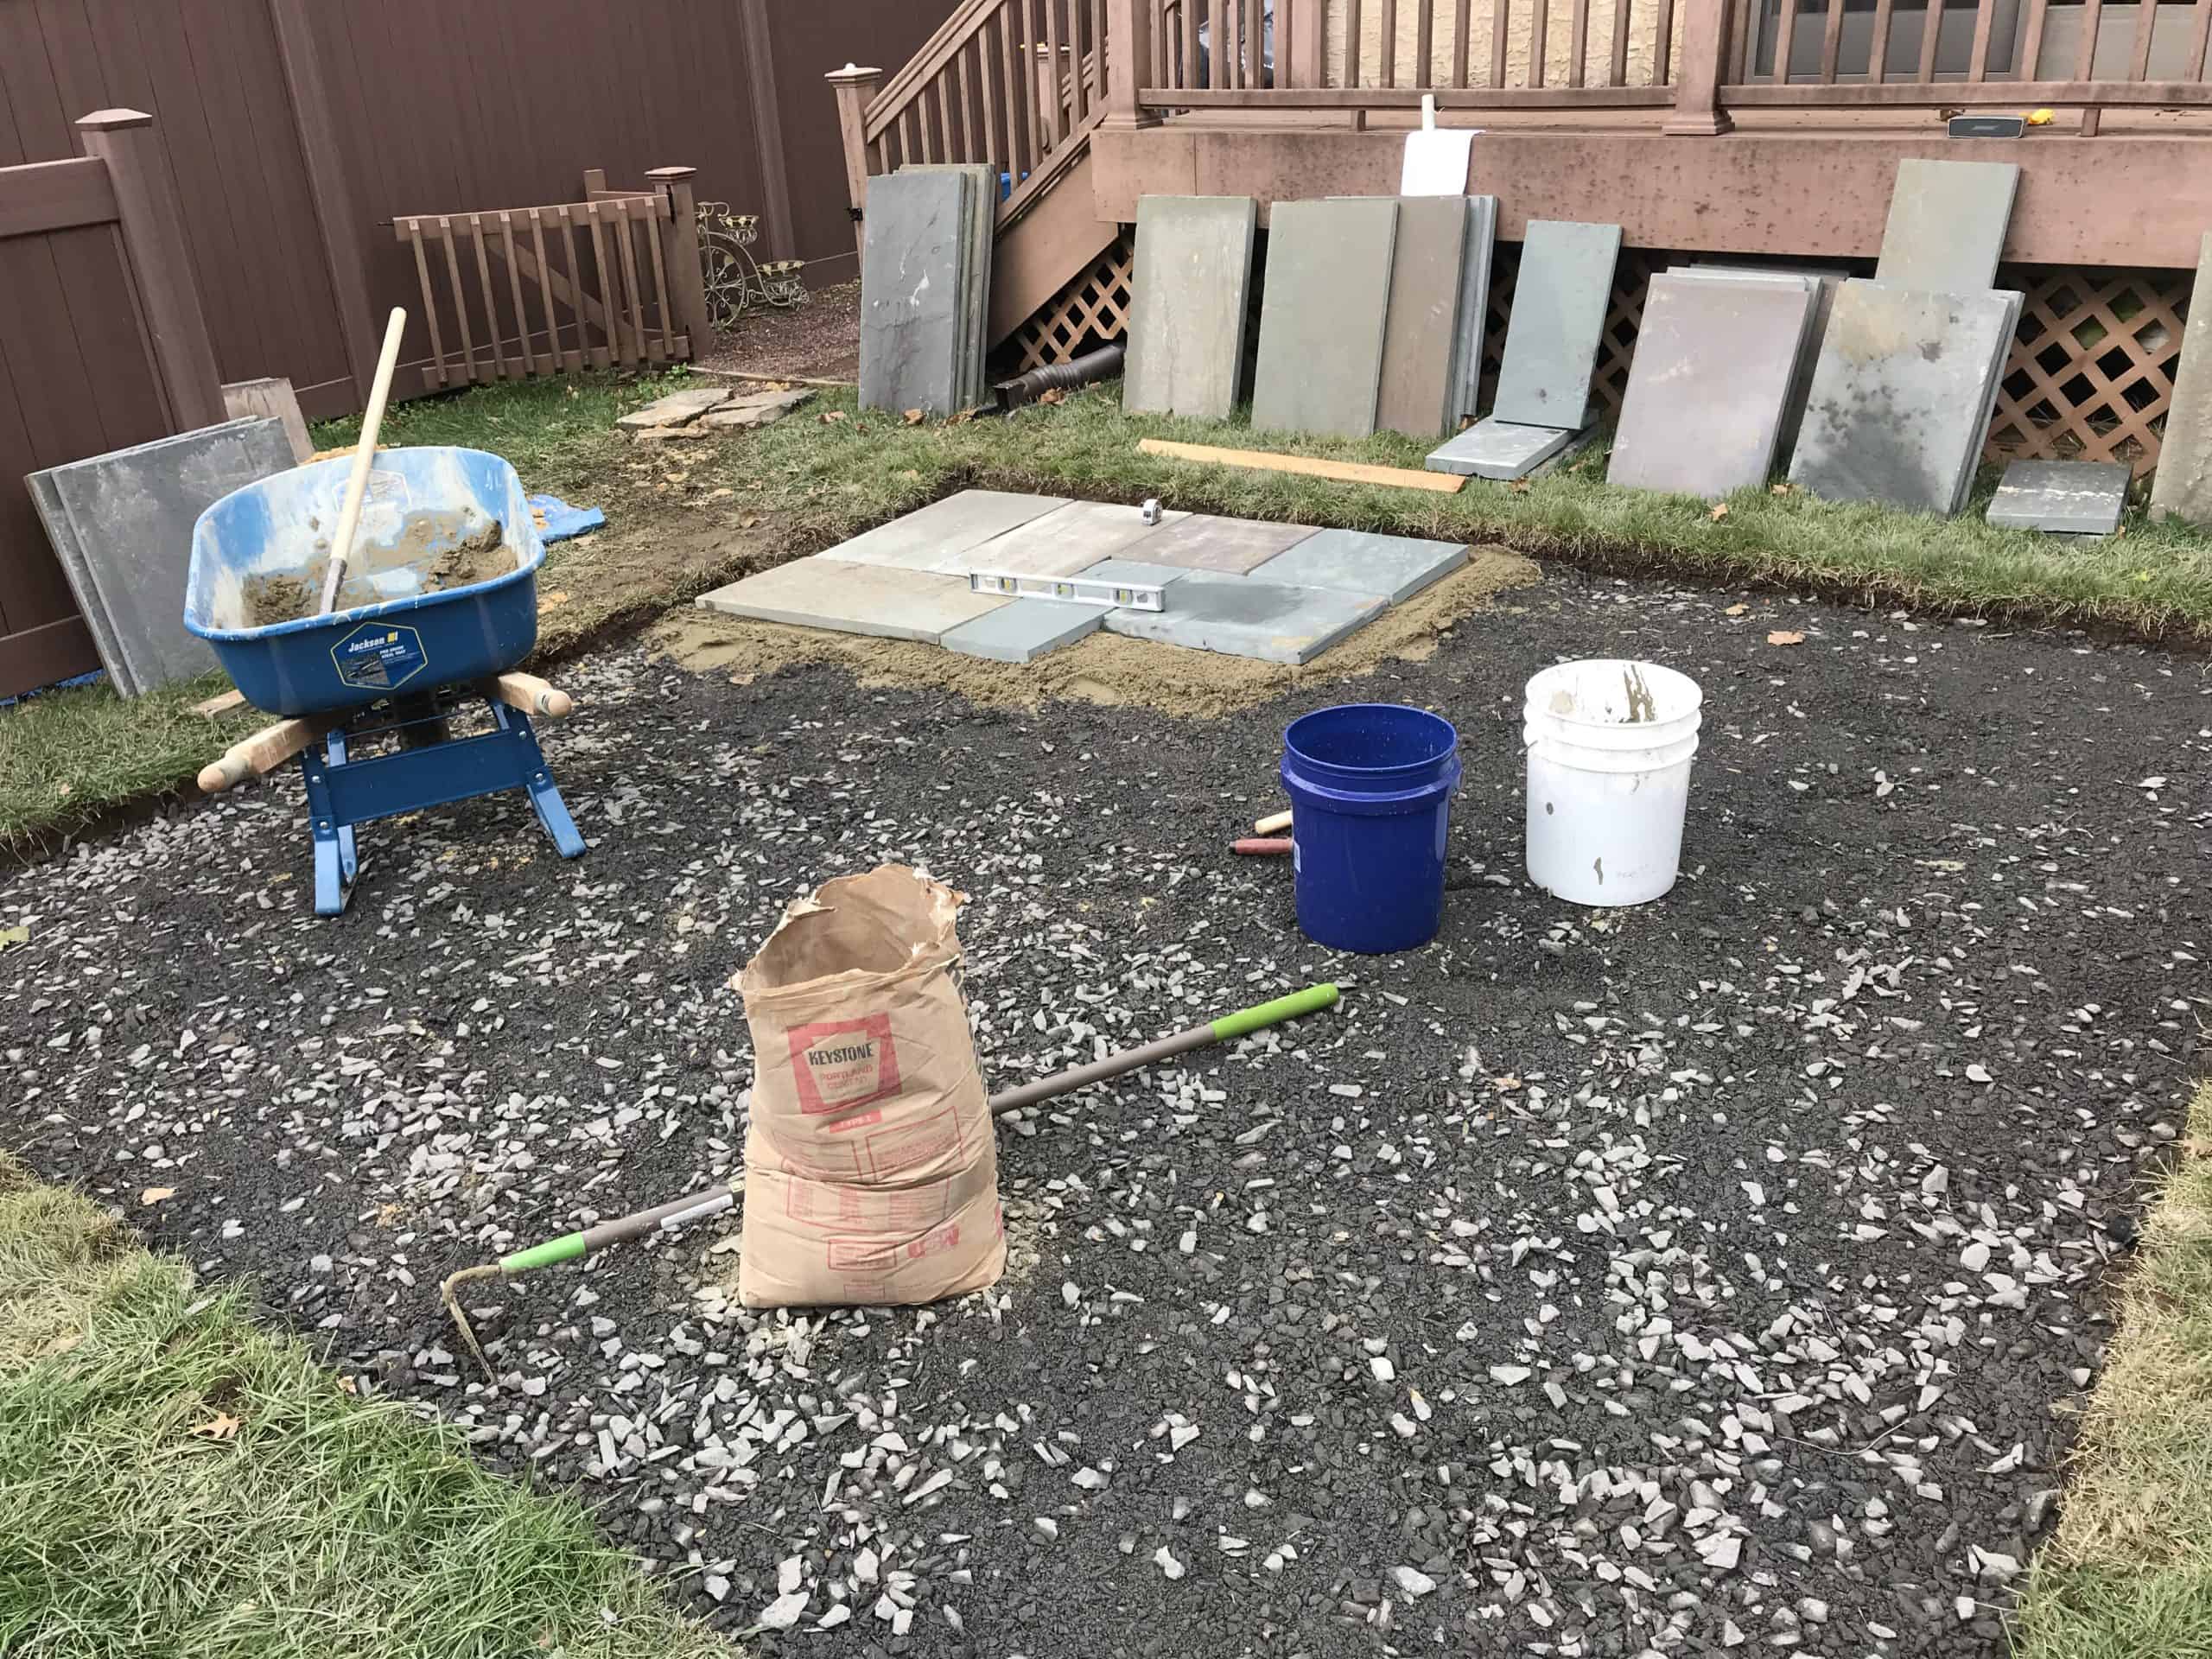
Lay down about an 1 ½” thick layer of the setting mix in the area you will be starting your first few stones. Grab your first piece of flagstone and lay it down in the setting bed. Use your level and be sure to pitch the stones slightly away from the house (rule of thumb is ¼” of pitch for every 10 feet of patio or walkway). One of the joys of setting natural cleft flagstone is that every piece varies in thickness. This means that you will constantly be picking up and re-setting pieces until you are at the desired level with adjacent stones. In one of your empty 5 gallon buckets, add a shovelful of pure Portland and a few ounces of water to create a cement slurry with the consistency of mayonnaise. This slurry will be used to butter the back of each stone so that they bite into your 4 to 1 setting bed. Use the trowel or even an old brush to cover the entire back of the stones and try not miss any surface area. I dry lay the stone first, then, once level, butter the backs of the stones for adhesion. This is where the rubber mallet comes in. Use the mallet to beat those stones into place and maybe relieve some pent up, repressed rage in the process. Keep a bucket of clean water close at hand so you can wash off any stains you get on the stones with a clean sponge, and also to wash off your hands as needed.
At this point, you’re on stone-setting auto pilot: Dry-lay the stones, level them, butter their backs, savagely beat them with mallet, and make new setting mix as needed. Wash, rinse, repeat.
Natural cleft flagstone can be slightly out of square and is meant to be laid with ½” wide joints in between the stones. After all your stone is set & laid you might see some joints that are a little out of whack. You can use a grinder with a diamond wheel on it and carefully grind only the top, inside portion of the joint to correct the joint width. Once the polymeric sand is swept between the joints you can’t tell the joint has been altered.
After all your flagstone has been laid accordingly it’s time to fill in the joints. For this patio I used HP NextGel Polymeric Sand in a gray color. Polymeric sand can only be swept in on a nice, dry day. This product matched the flagstone pretty well, and didn’t leave any hazing or discoloration on the surface when it was swept into the joints, so I was happy with it.
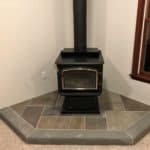
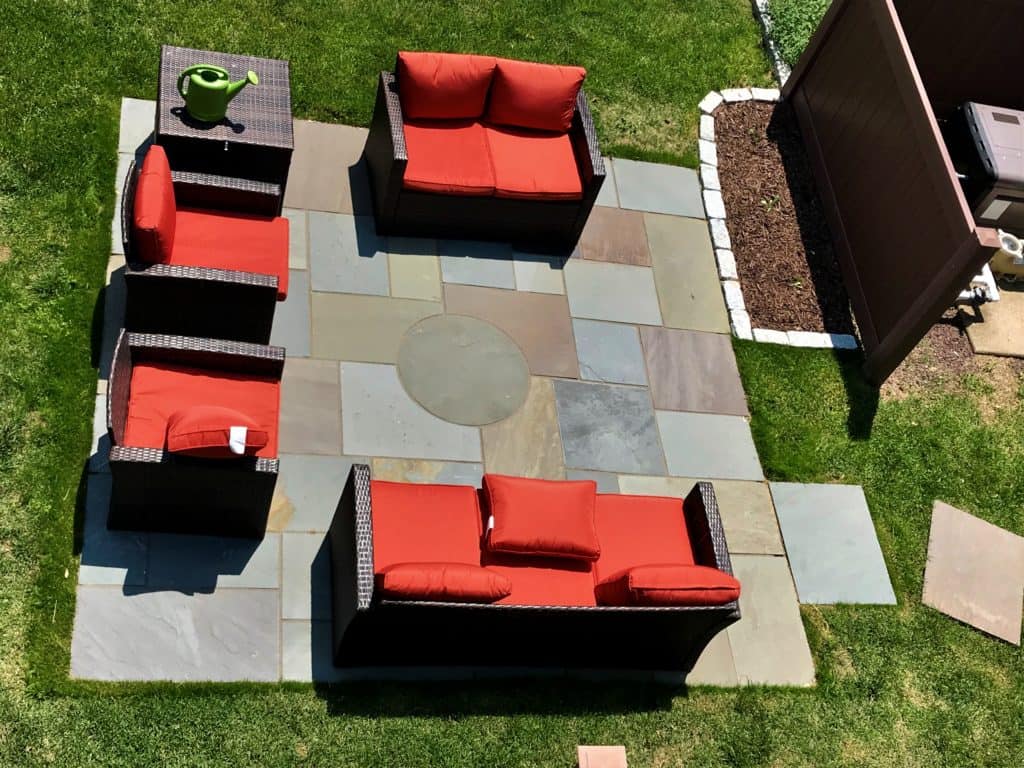
After the patio was complete I added a few stepping stones, and a small Belgian block https://staging.robinsonflagstone.com/pa-flagstones/belgium-blocks lined flower bed. I feel like the red cushions on the furniture really tied the patio together nicely. Feel free to call or email us at Robinson Flagstone if you would like to design and install one of your own.
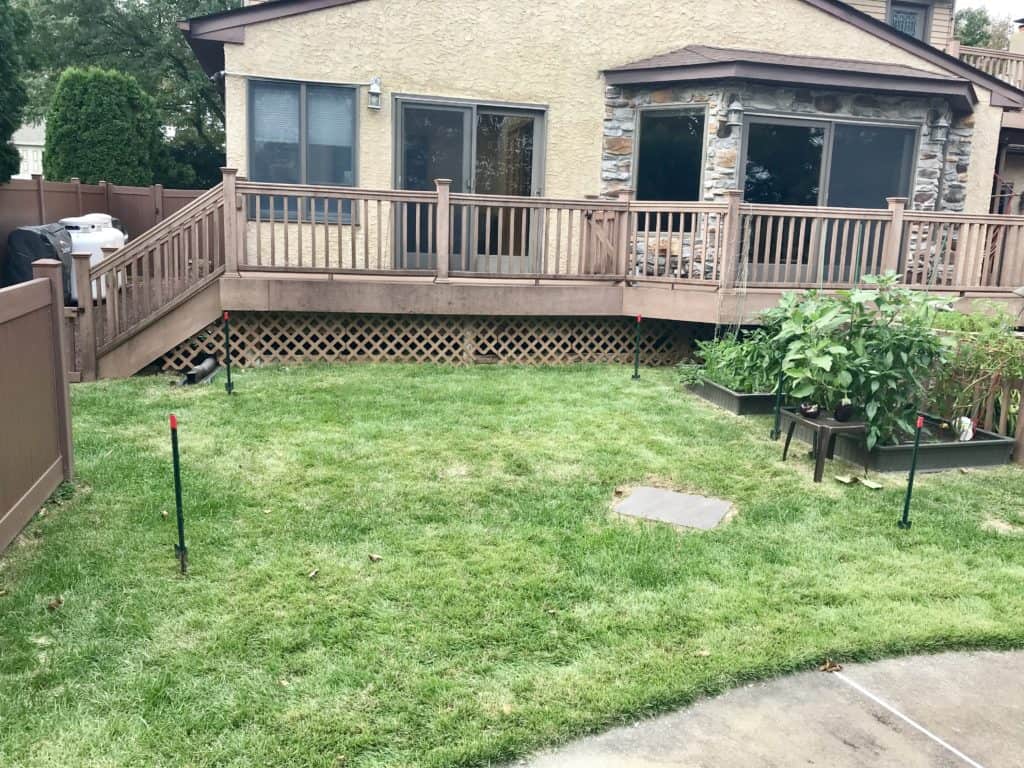
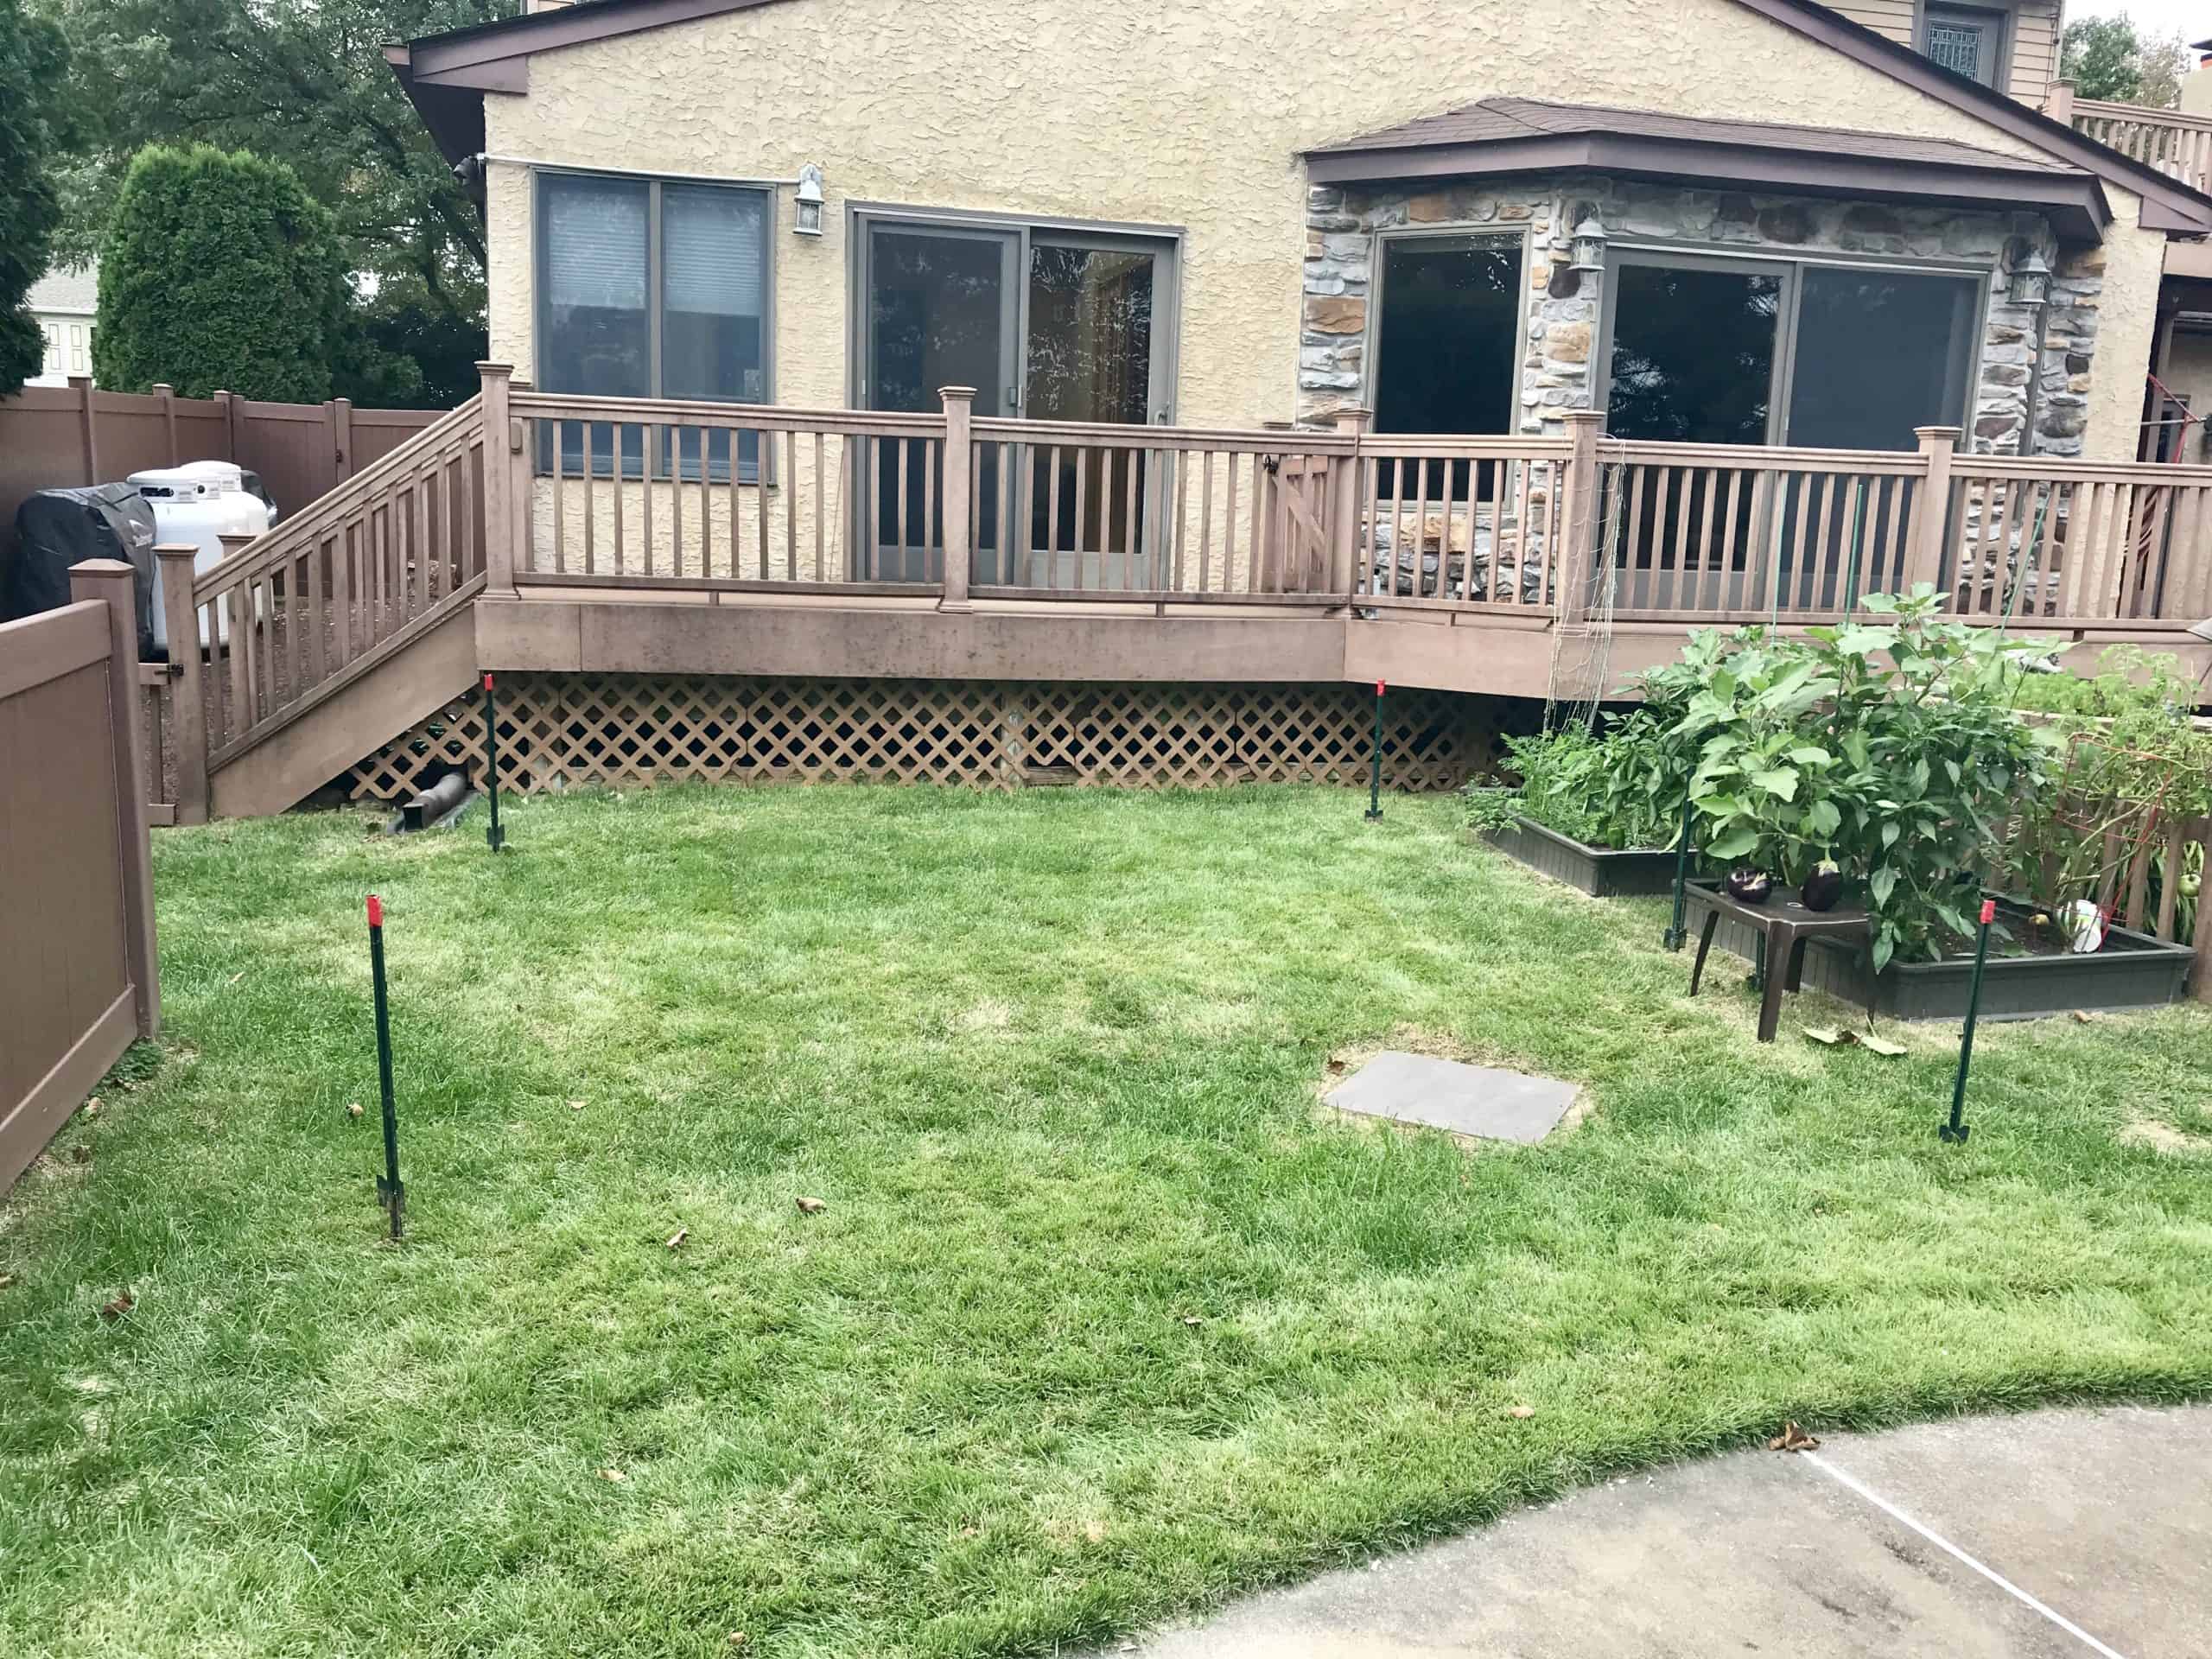
The Backyard Patio Area 
Staked off patio Area 
12′-6″ x 12′-6″ Excavated area 
Flagstone Delivery 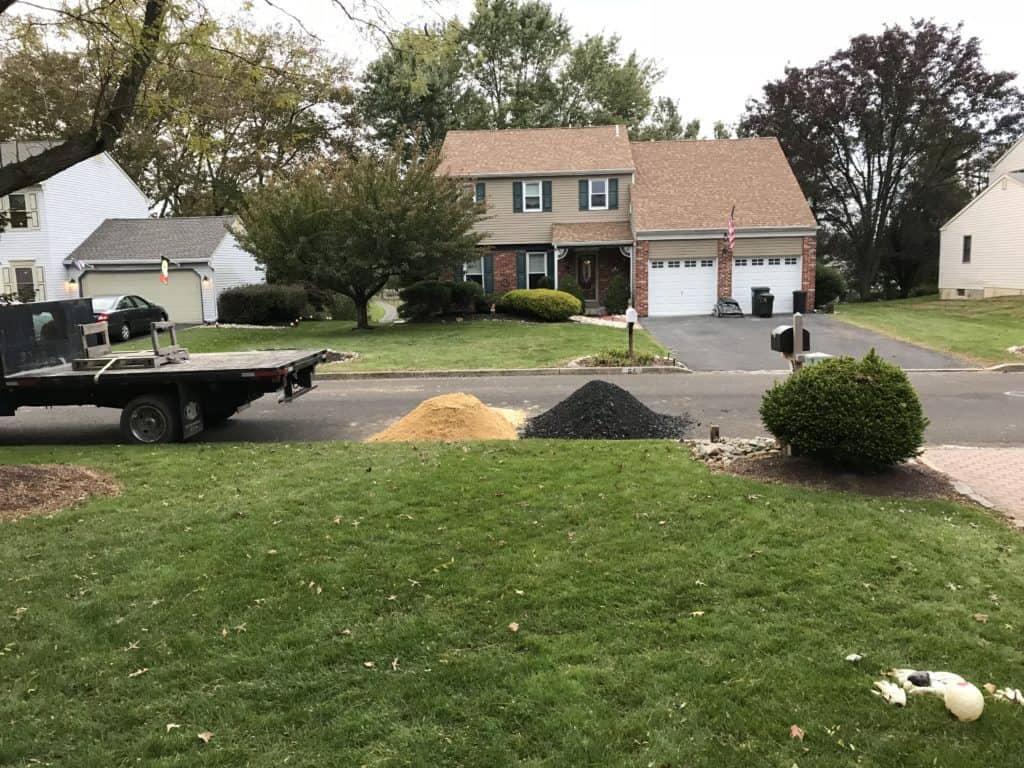
Sand & Modified 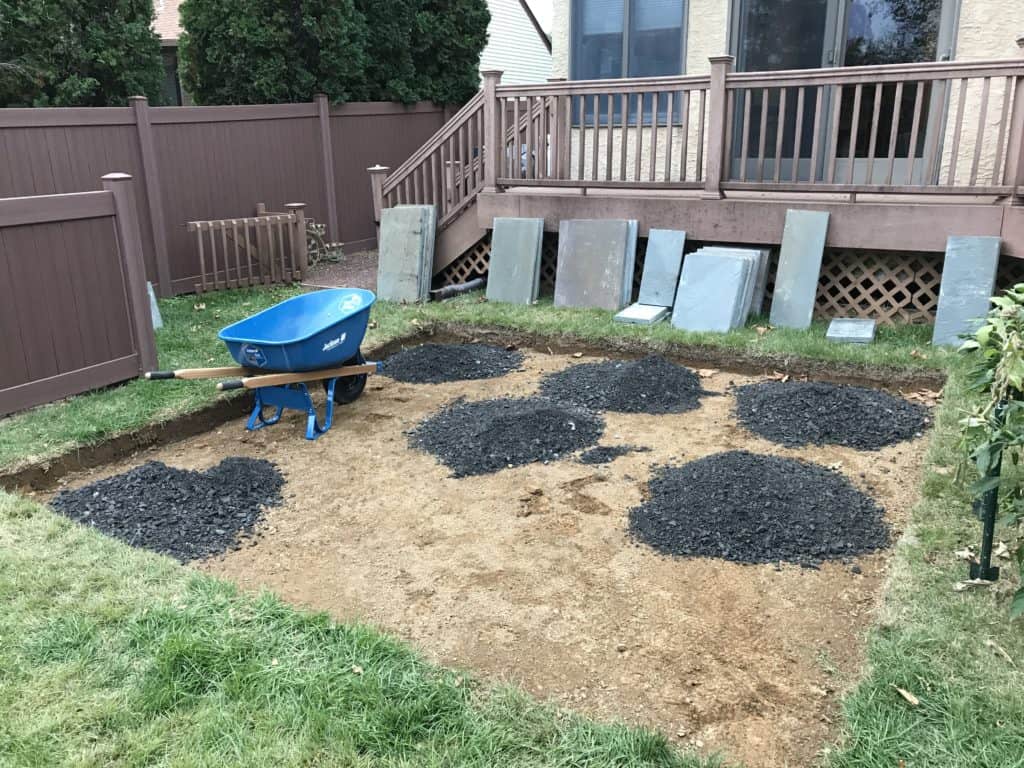
Laying the Modified 
Tamping the Modified 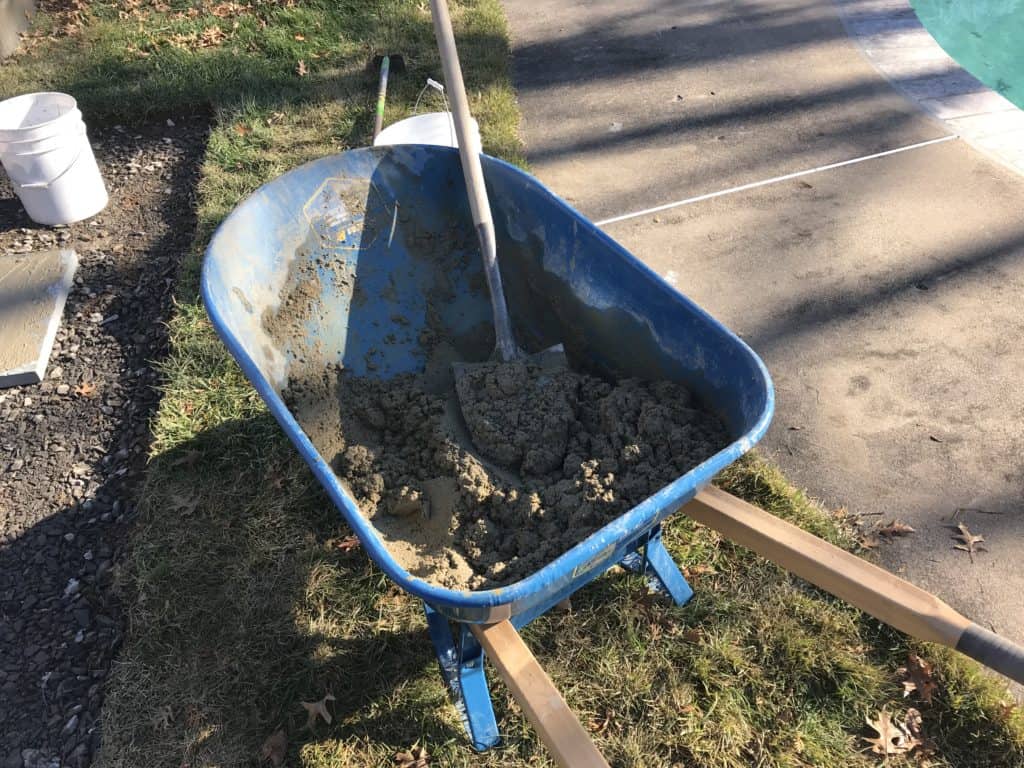
Mixing the Setting Bed 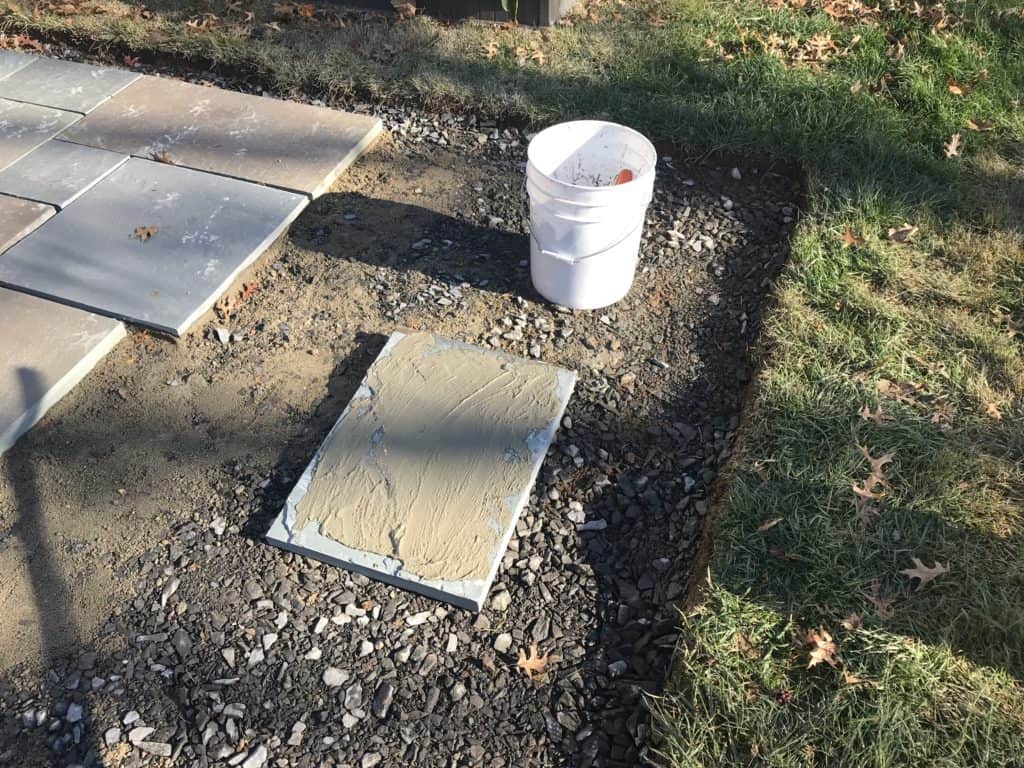
Buttering the Backs of Stones 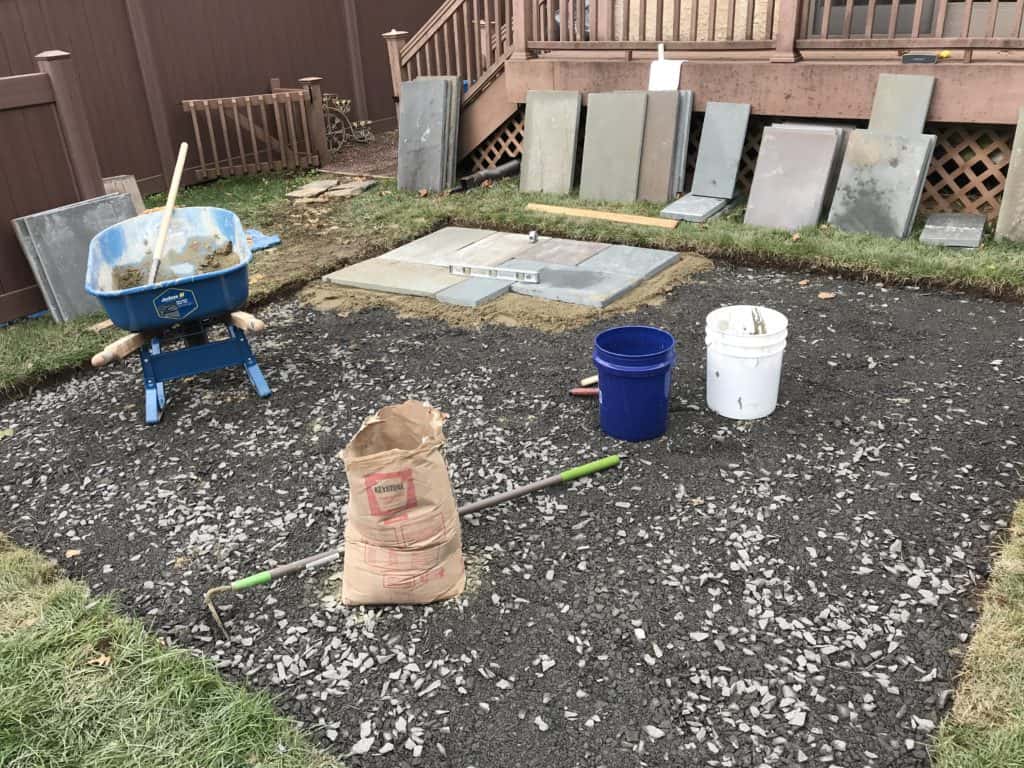
Laying Stone 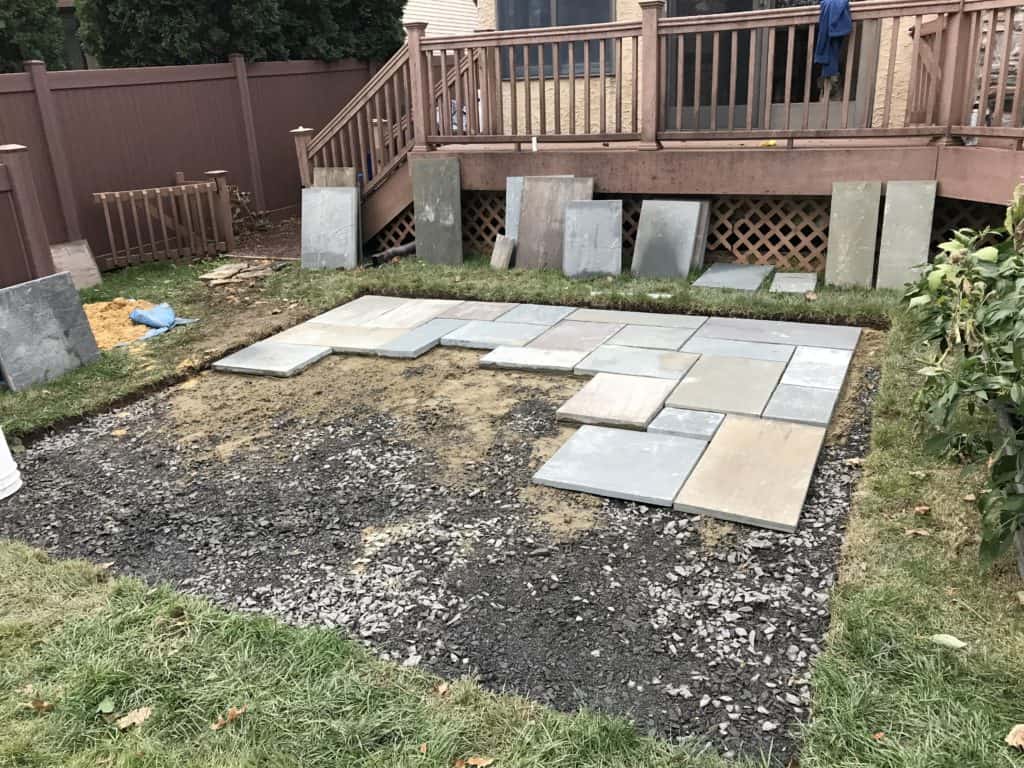
Starting to Take Shape 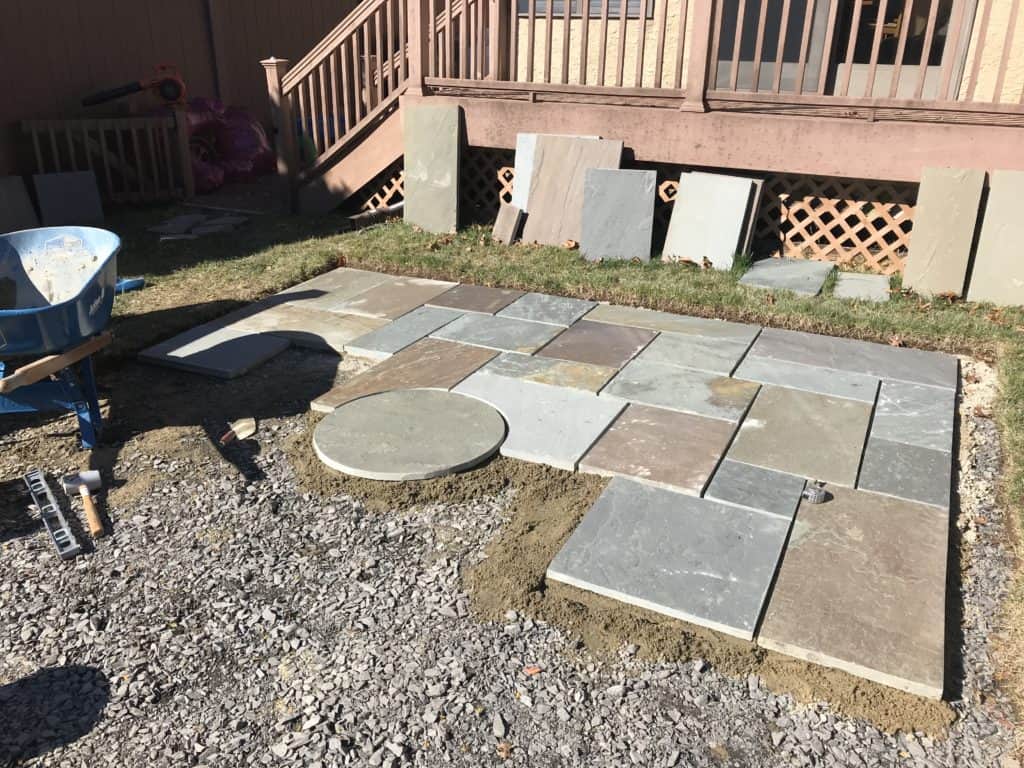
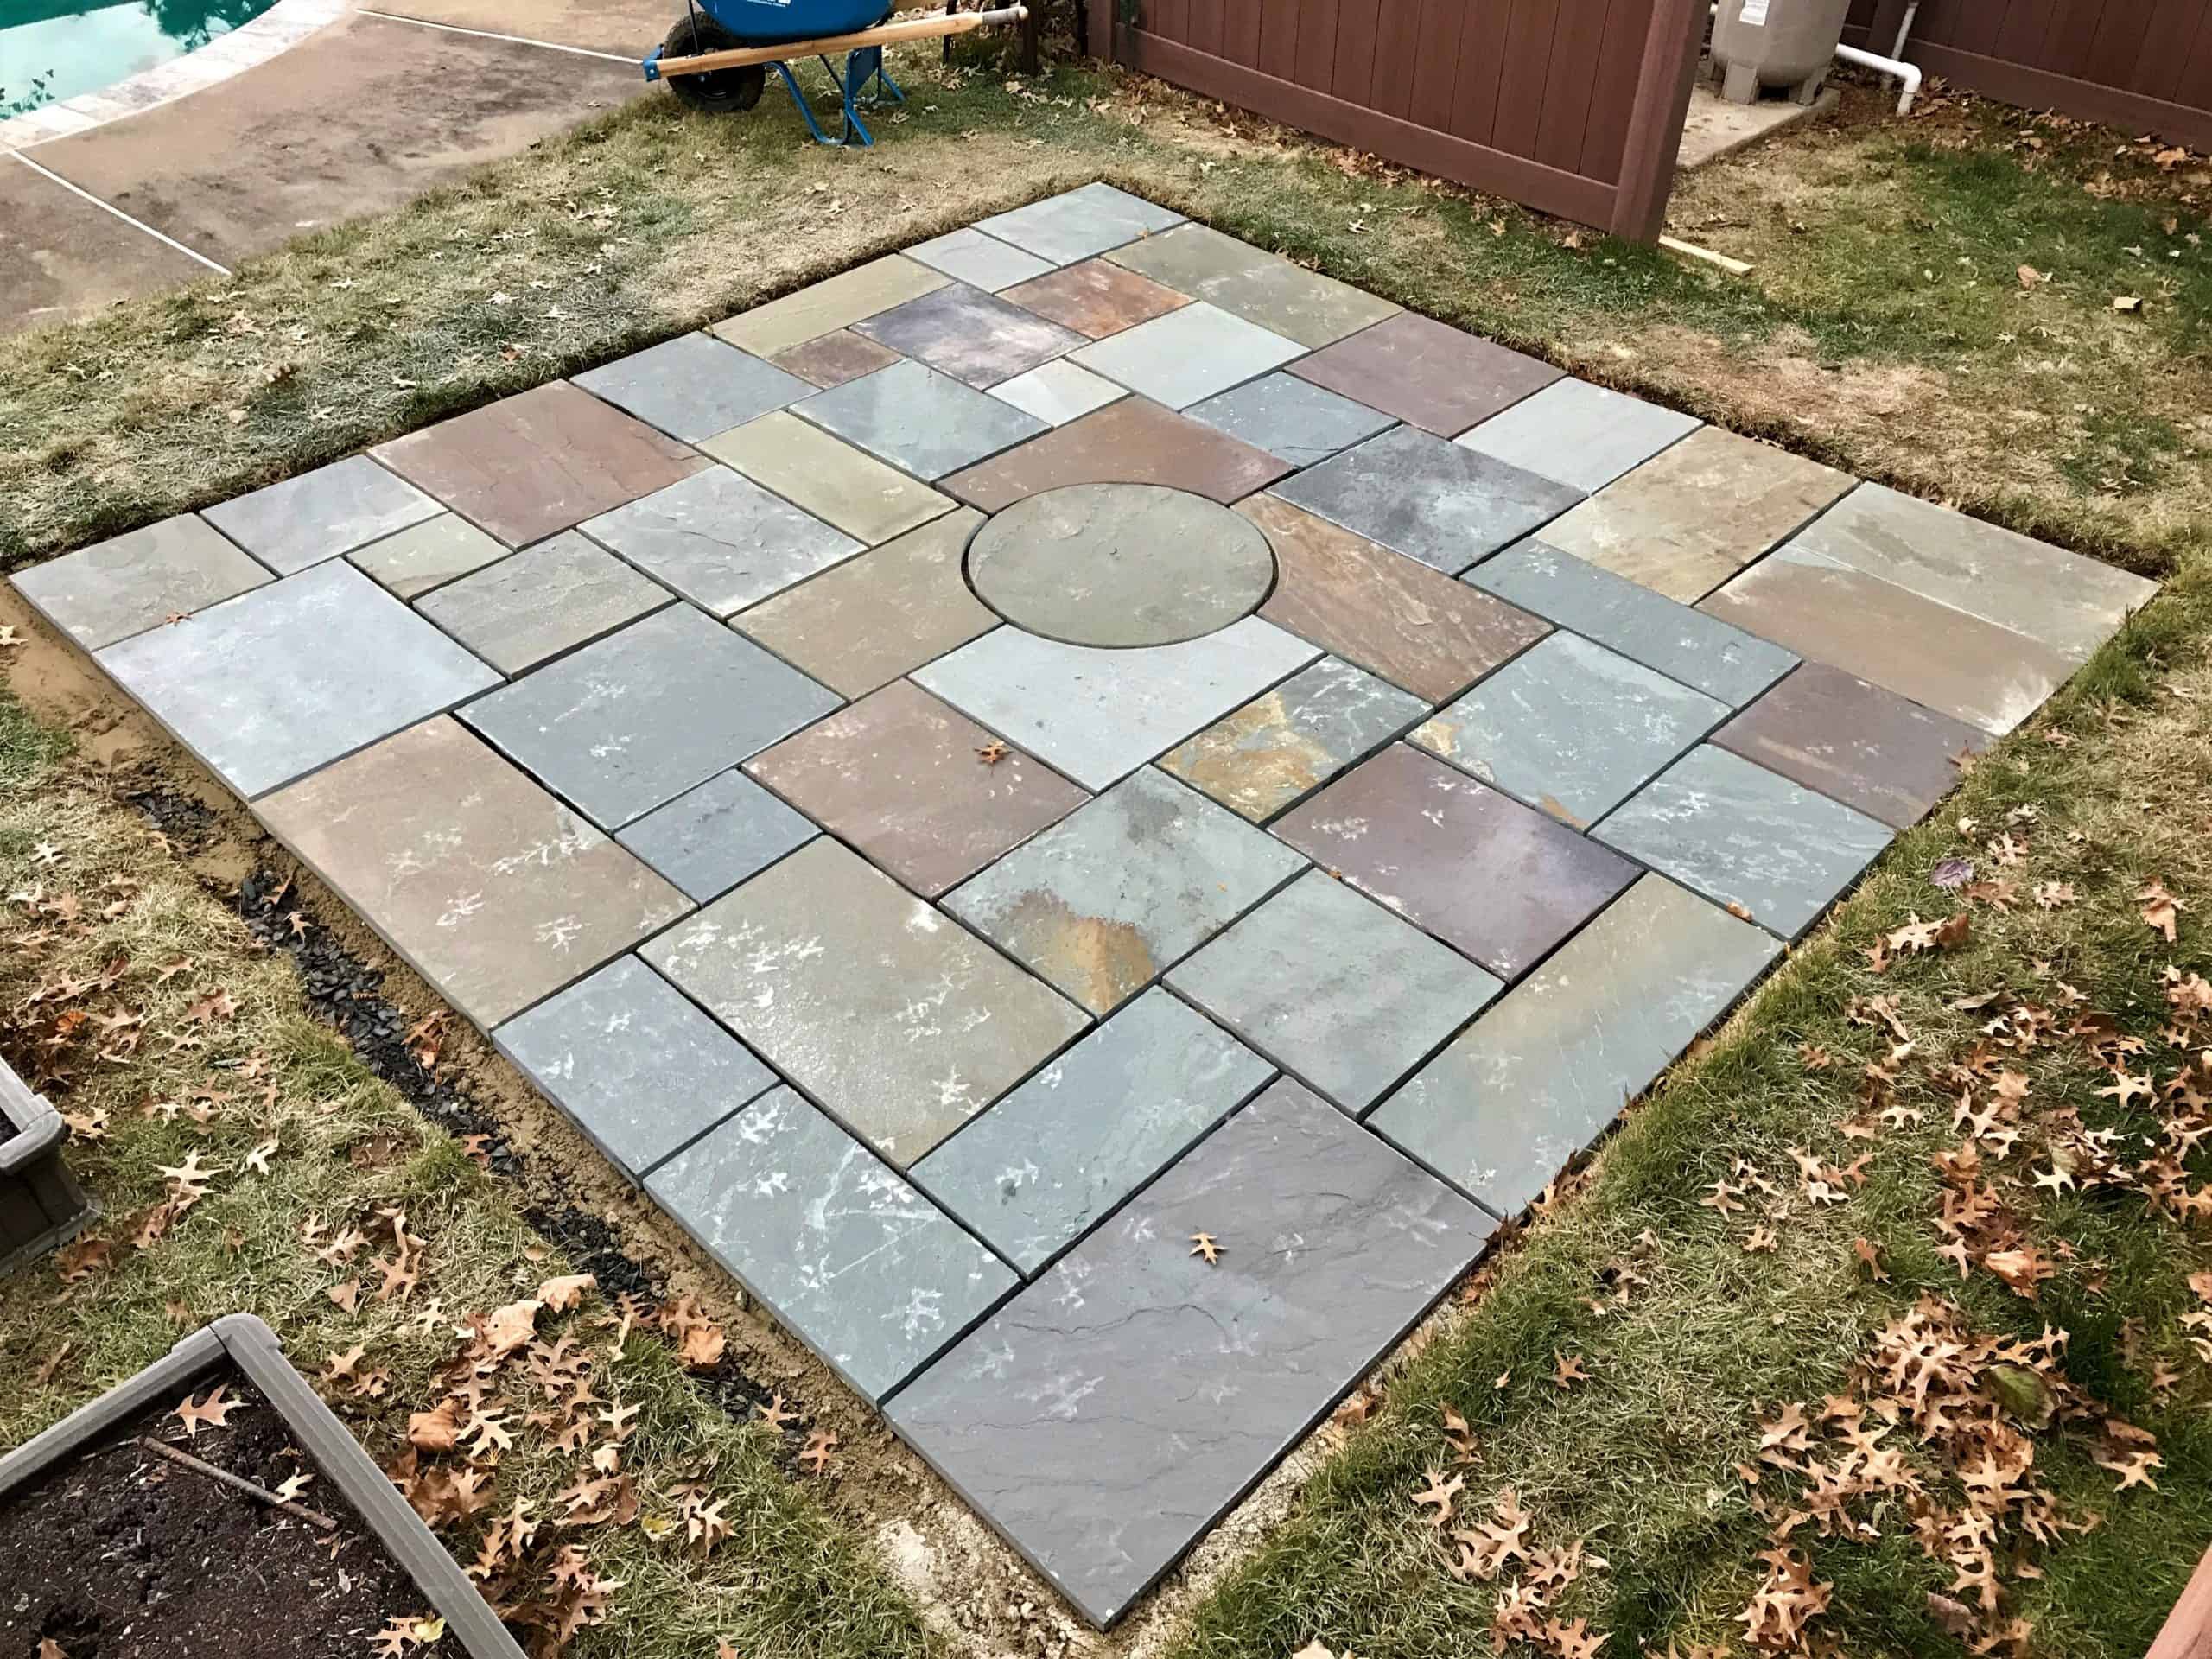
Round Centerpiece is Installed 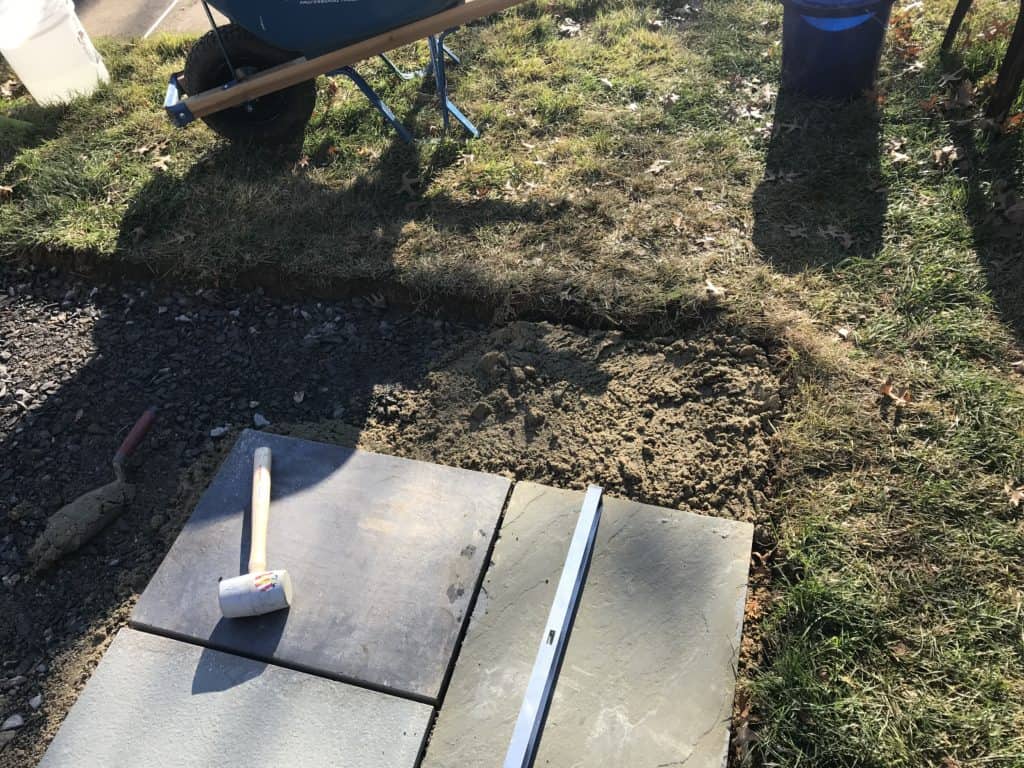
Close to the End 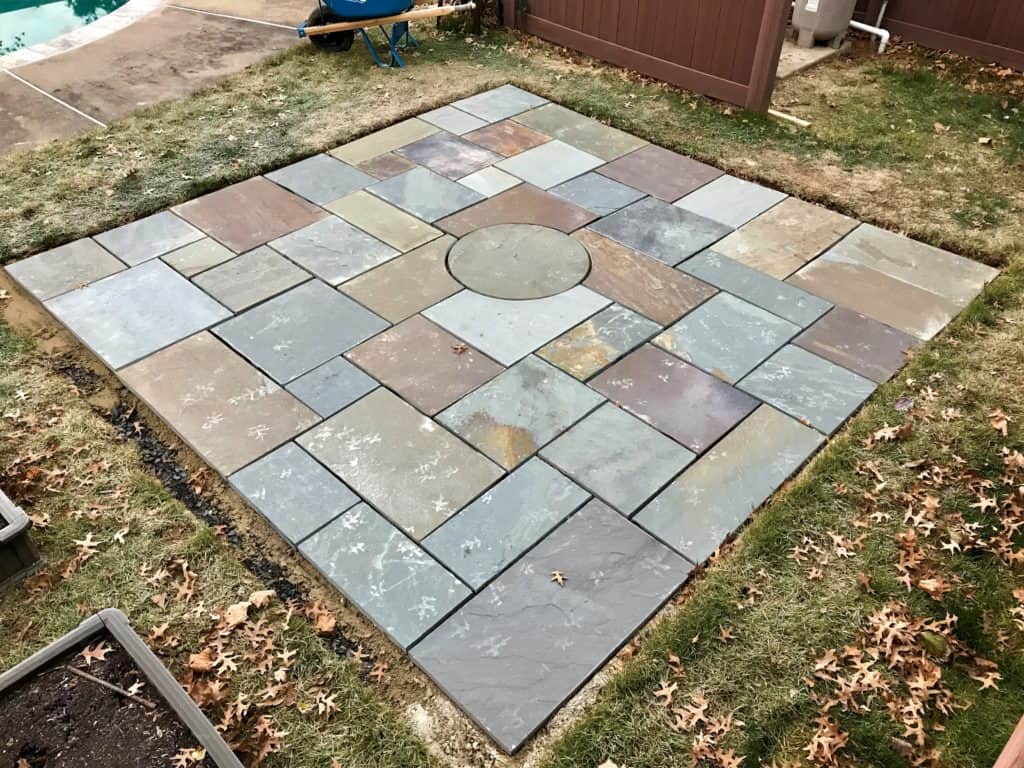
Finished 12′-0″ x 12′-0″ Patio Flagstone Patio with Furniture and Stepping Stones 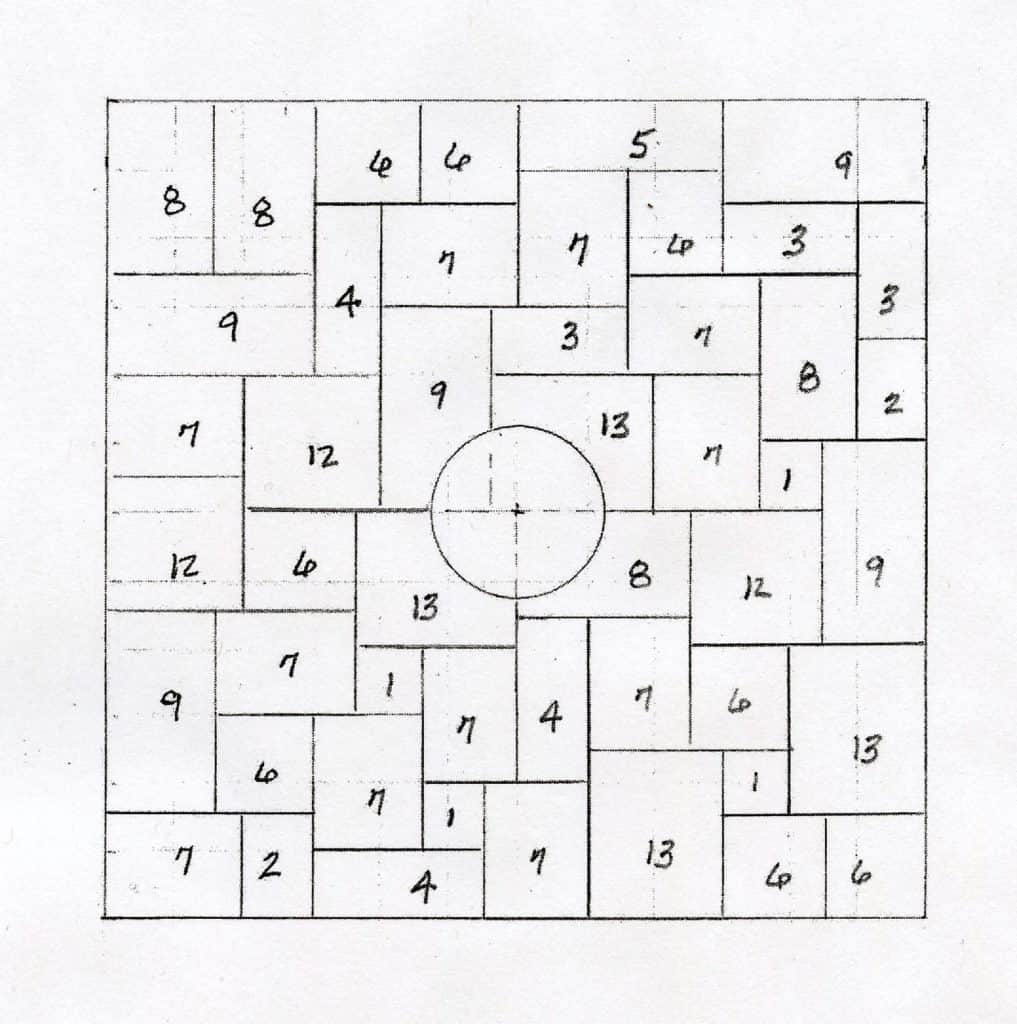
Setting Sketch- nominal 12′-0″ x 12′-0″